Amazon Route53 Creation:
Amazon Route 53 is an authoritative DNS service, meaning that it routes Internet traffic to your website by translating friendly domain names like www.target2customer.com into the numeric IP addresses like 192.0.2.1 that computers use to connect to each other. When someone enters your domain name in a browser or sends you email, a DNS request is forwarded to the nearest Amazon Route 53 DNS server in a global network of authoritative DNS servers. Amazon Route 53 responds with the IP address that you specified.
Create Hosted Zone
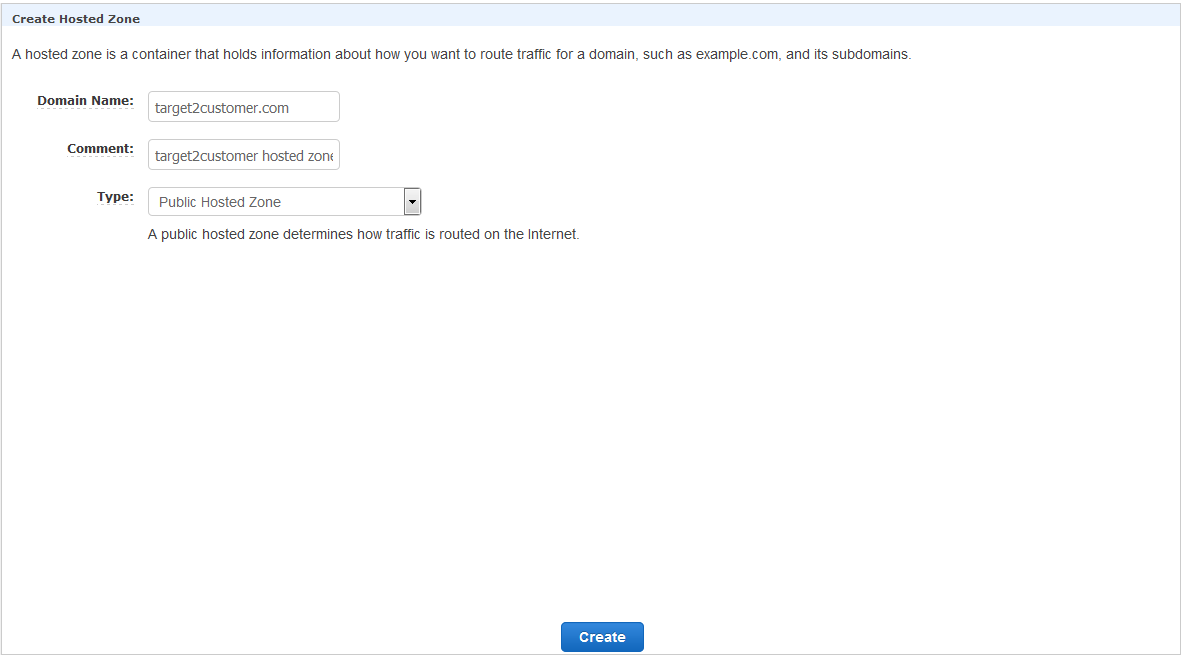
Route 53 Giving Amazon NameServers, We Need to update the Nameserver Details to our Domain
Host target2customer Website through S3 and CDN
Everyone knows that Amazon S3 is great for storing files. It’s fast, inexpensive, and easy to setup. What you may not realize is that you can also host static websites on this robust platform.
What is a static website? In short, it’s a website comprised of only HTML, CSS, and/or JavaScript. That means server-side scripts aren’t supported, so if you want to host a Rails or PHP app, you’ll need to look elsewhere. For simpler purposes, welcome to the wonderful world of hosting websites on S3!
Create S3 bucket
This is where you’ll go to create your first bucket. A bucket is similar to a folder on your hard drive, except it’s in the cloud and it has virtually unlimited storage. There are a few things you need to know about buckets before creating
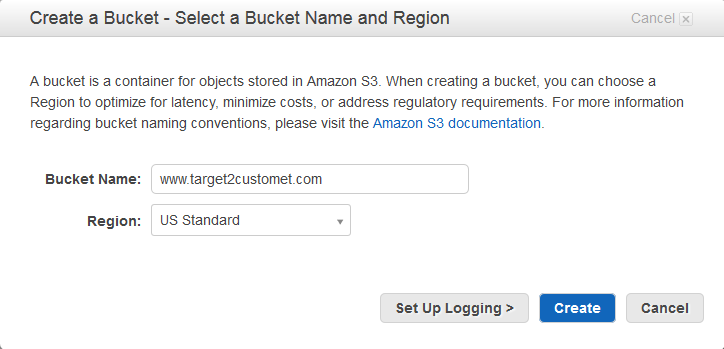
1- Bucket names need to be unique across the entire S3 platform
2- You can create a bucket in one of many supported regions around the world
3- If you want to use a custom domain, your bucket name will need to be the same as your domain name
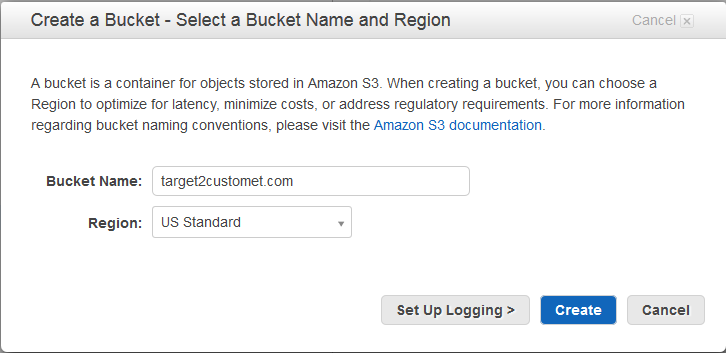
To create a bucket, navigate to S3 in the AWS Management Console and hit Create Bucket. You’ll be prompted to enter a name and a region.
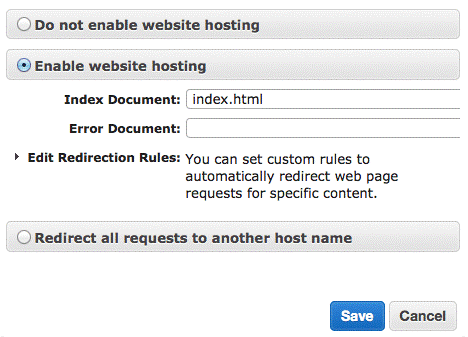
The only thing left to do is enable Static Website Hosting. Just select it from the panel on the right.
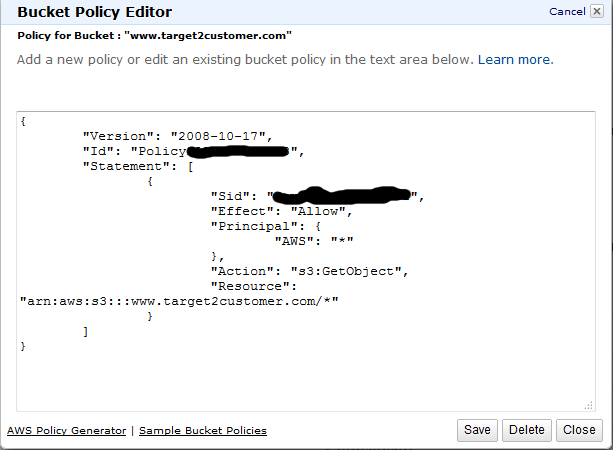
Next we need to setup the Properties for our S3 Bucket, which should automatically open after creating the new Bucket. Under “Permissions” click on “Add Bucket Policy”
Now upload the static html pages to s3 bucket.

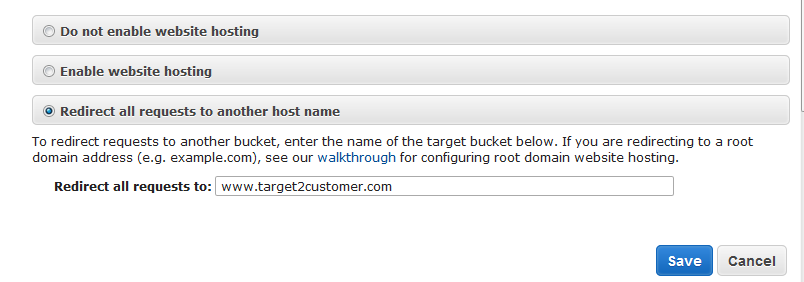
Each bucket serves a website namespace (e.g. “www.target2customer.com”). Requests for your host name (e.g. “target2customer.com” or “www.target2customer.com”) can be routed to the contents in your bucket. You can also redirect requests to another host name (e.g. redirect “target2customer.com” to “www.target2customer.com”). See our walkthrough for how to set up an Amazon S3 static website with your host name.
Creating CloudFront distribution
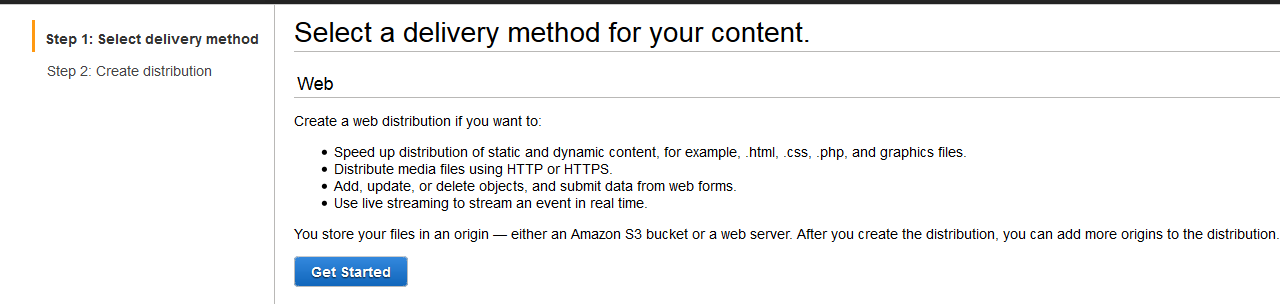
Open the CloudFront tab in Amazon console, and click on “Create distribution”.
At first step, select “Get Started”:
The next page is trickier. If you click on “Origin Domain Name”, CloudFront will automatically auto-complete with your S3 bucket. However, don’t select this one. Instead, copy-paste the s3 endpoint
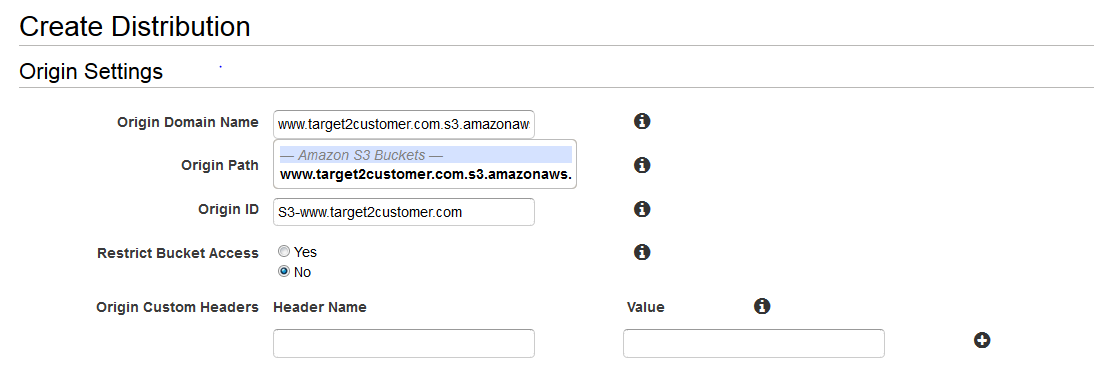
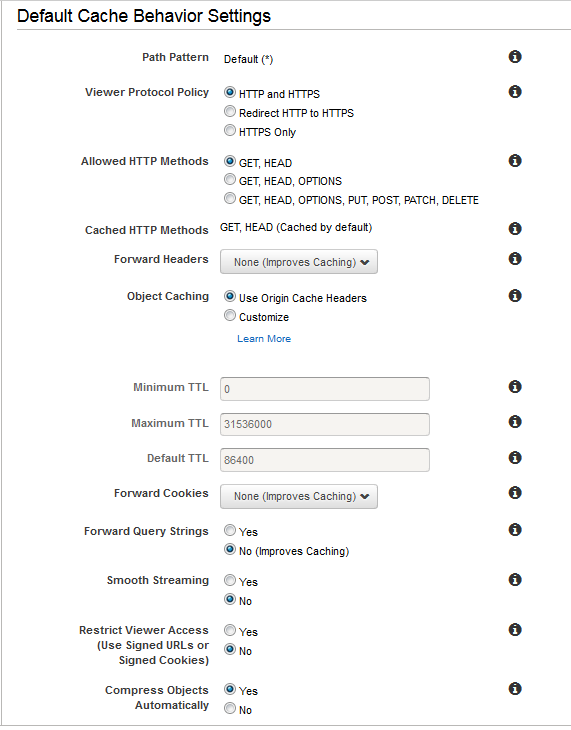
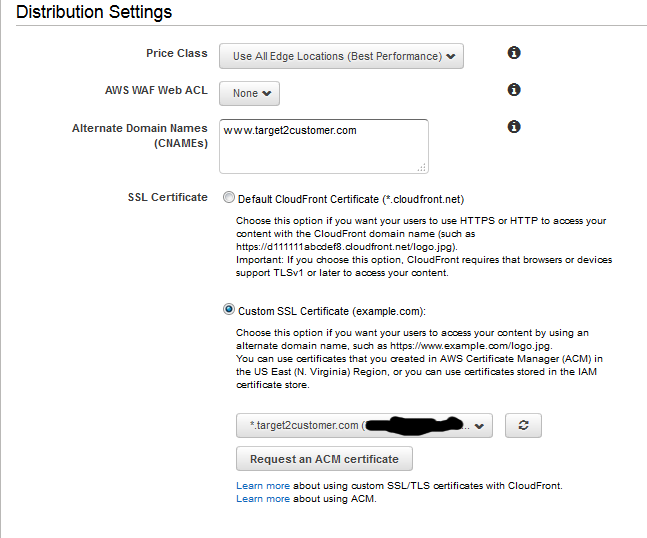
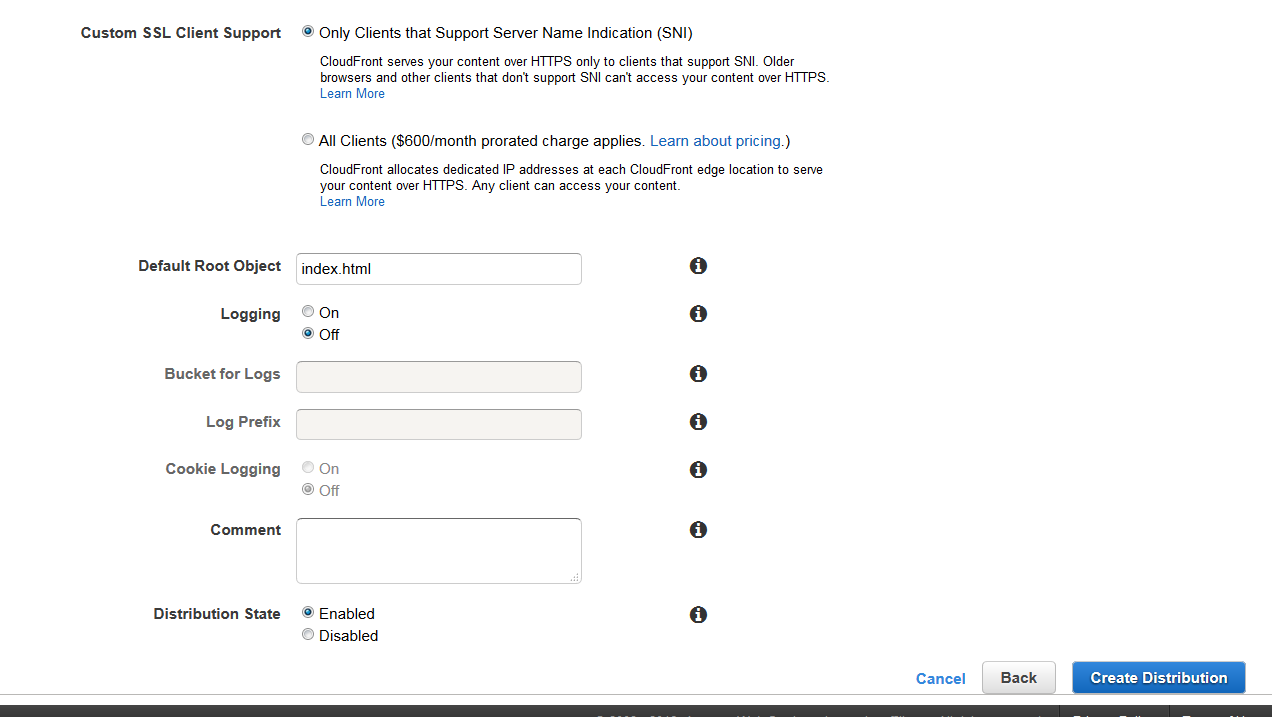
Click on “Create Distribution” and you’re done! It will take a few minutes to set up. When it’s done, copy your CloudFront domain name (it looks like xxx.cloudfront.net). If everything went good, you should see the exact same content as on S3. Except that this time, the file is being served from a CloudFront edge server. Much faster!
Open the Route 53 tab, and click on “Create hosted zone”. The domain name you need to enter is always the naked domain.
Create Mobile Application Server:
At this point we are going to use AWS EC2 service
Create EC2 Instance :
Step-1

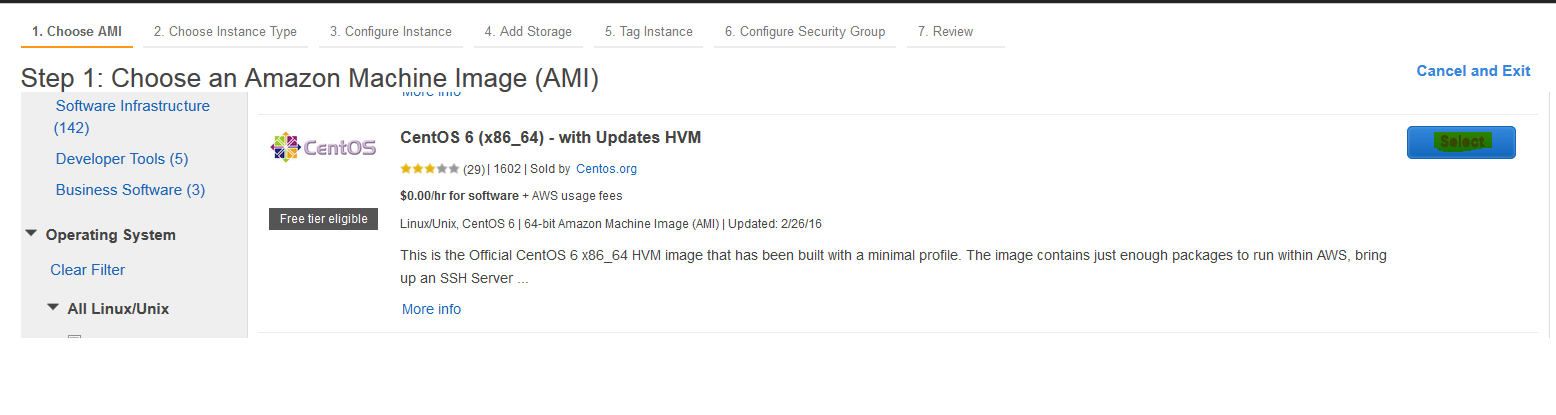
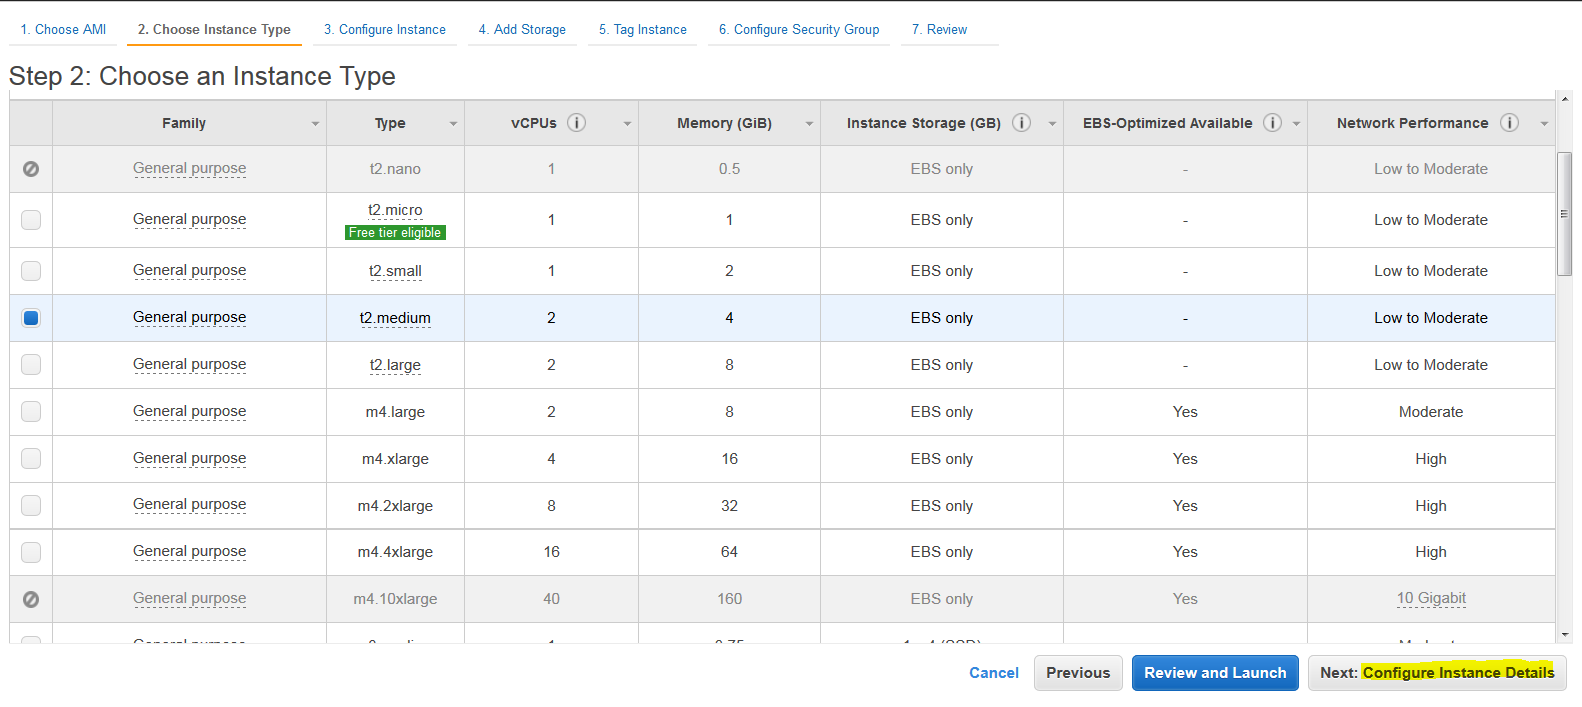
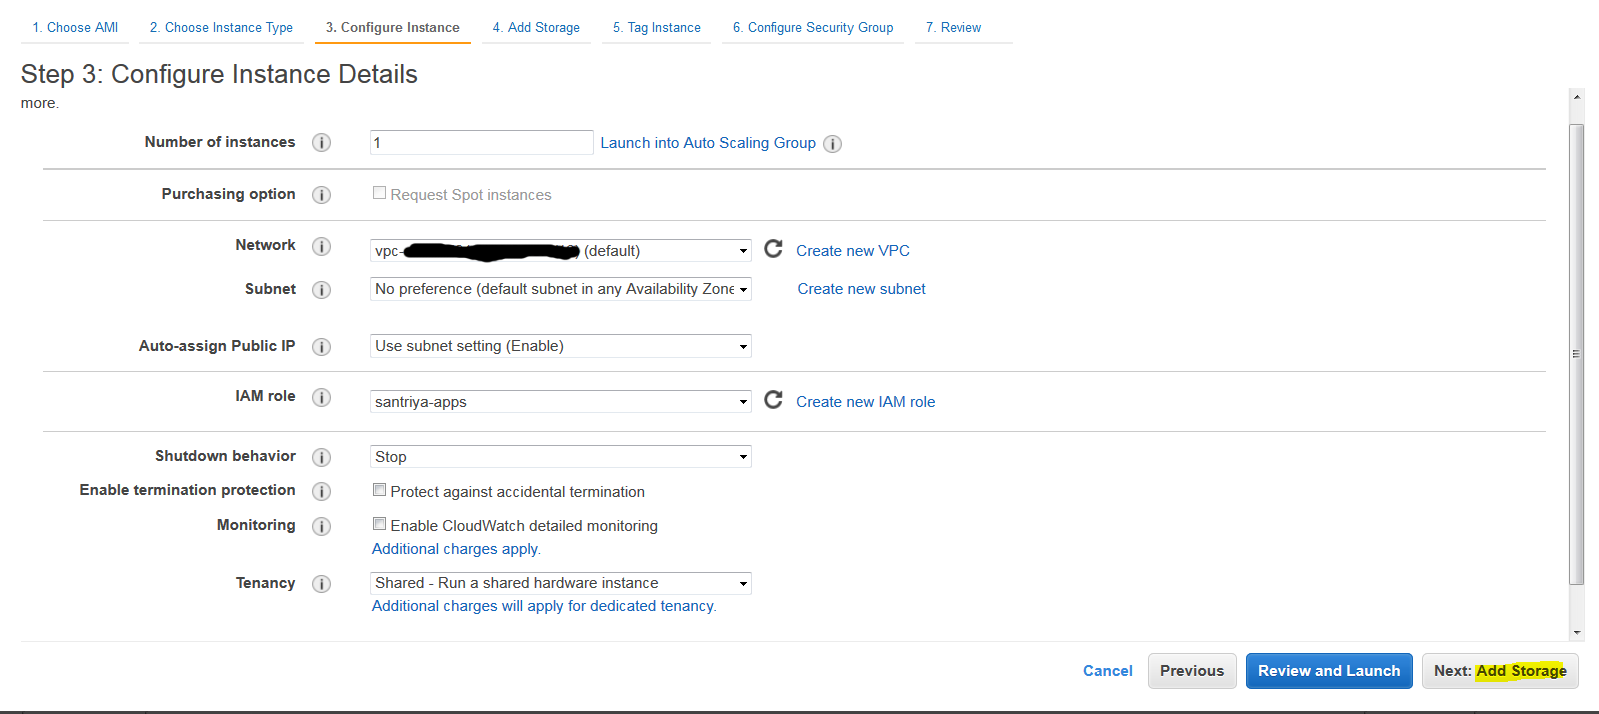
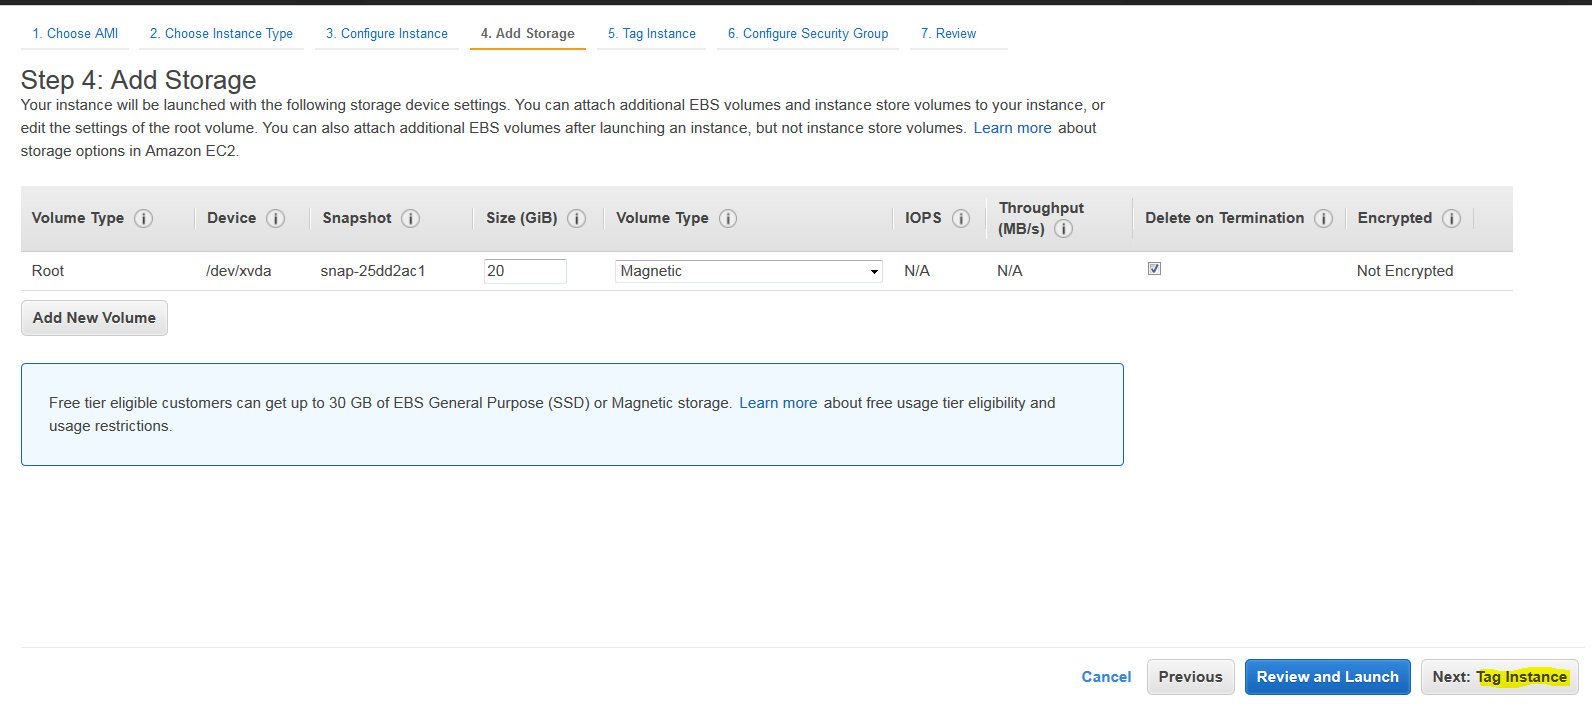
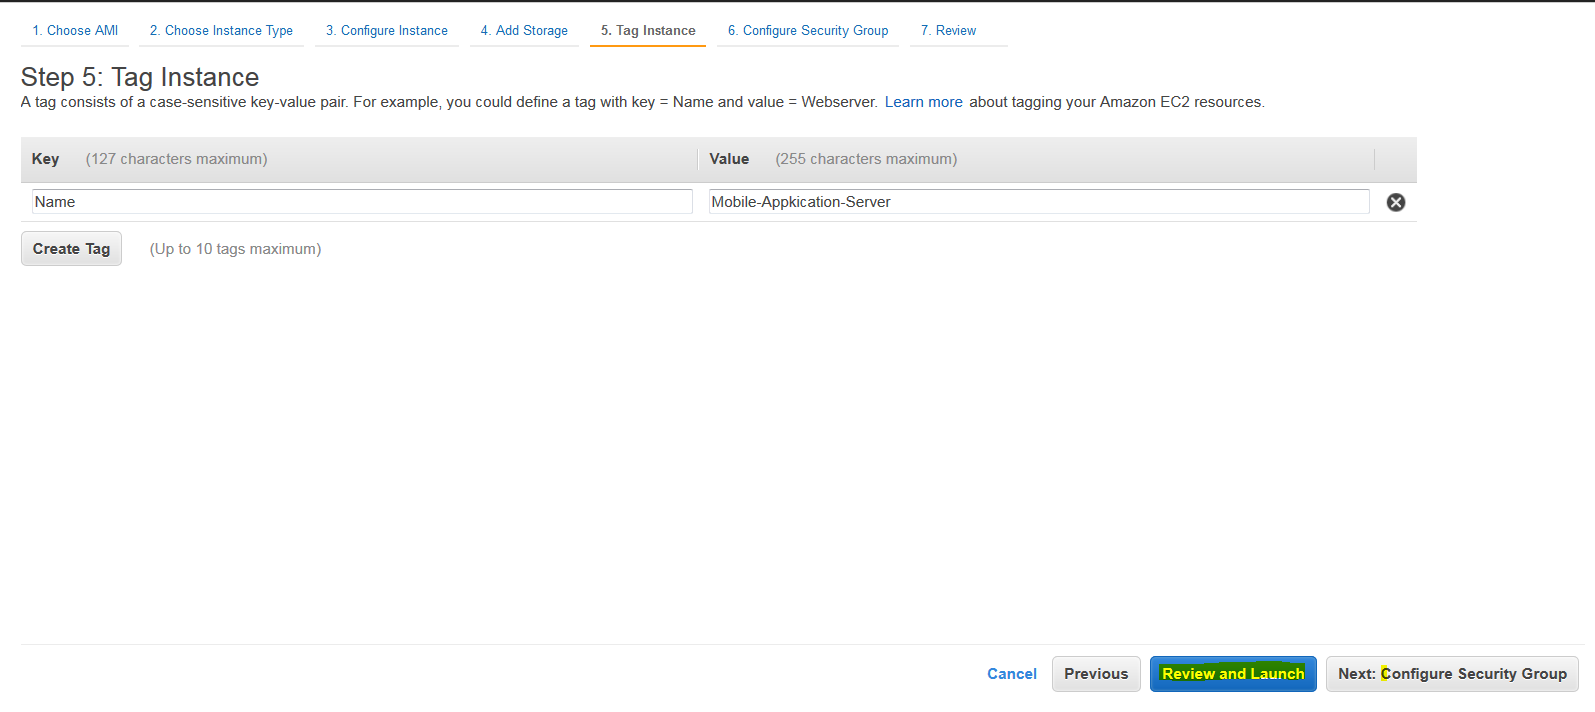
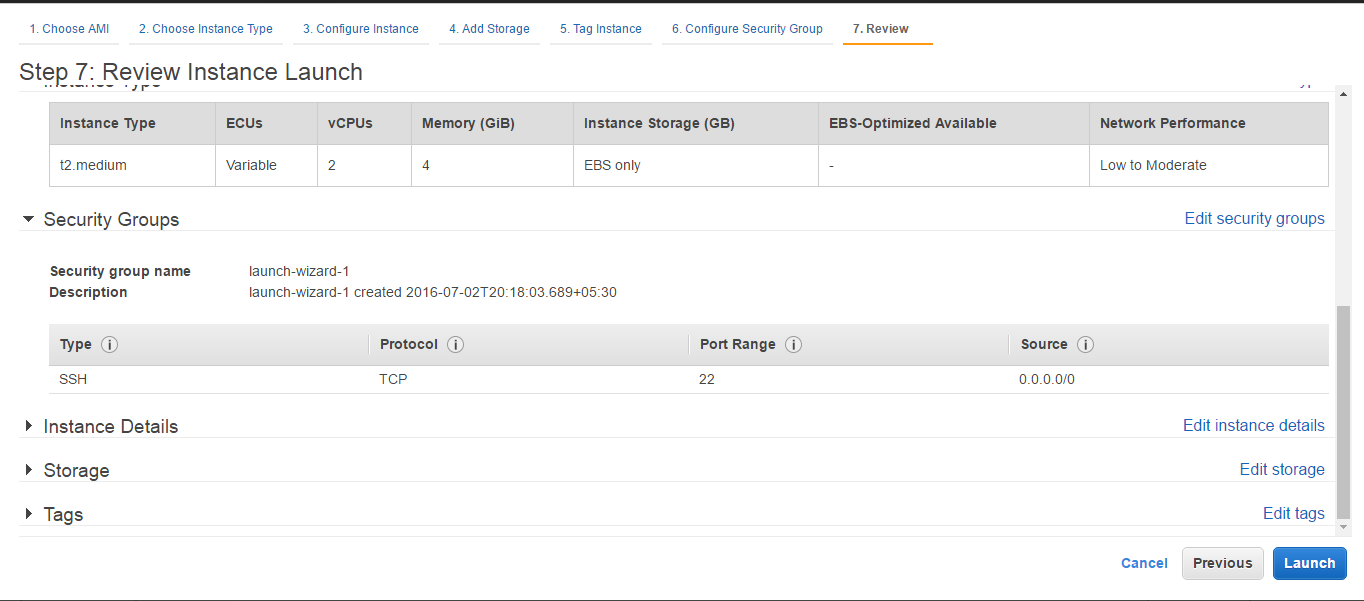
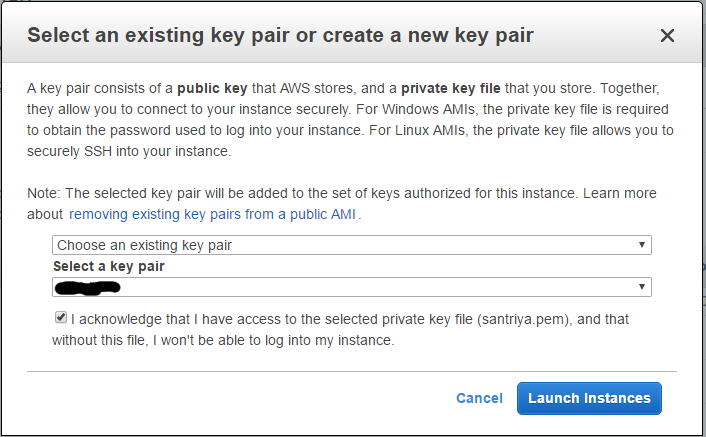
Now we launched the mobile application server.
ELB with Autoscaling.
Create Load Balancer

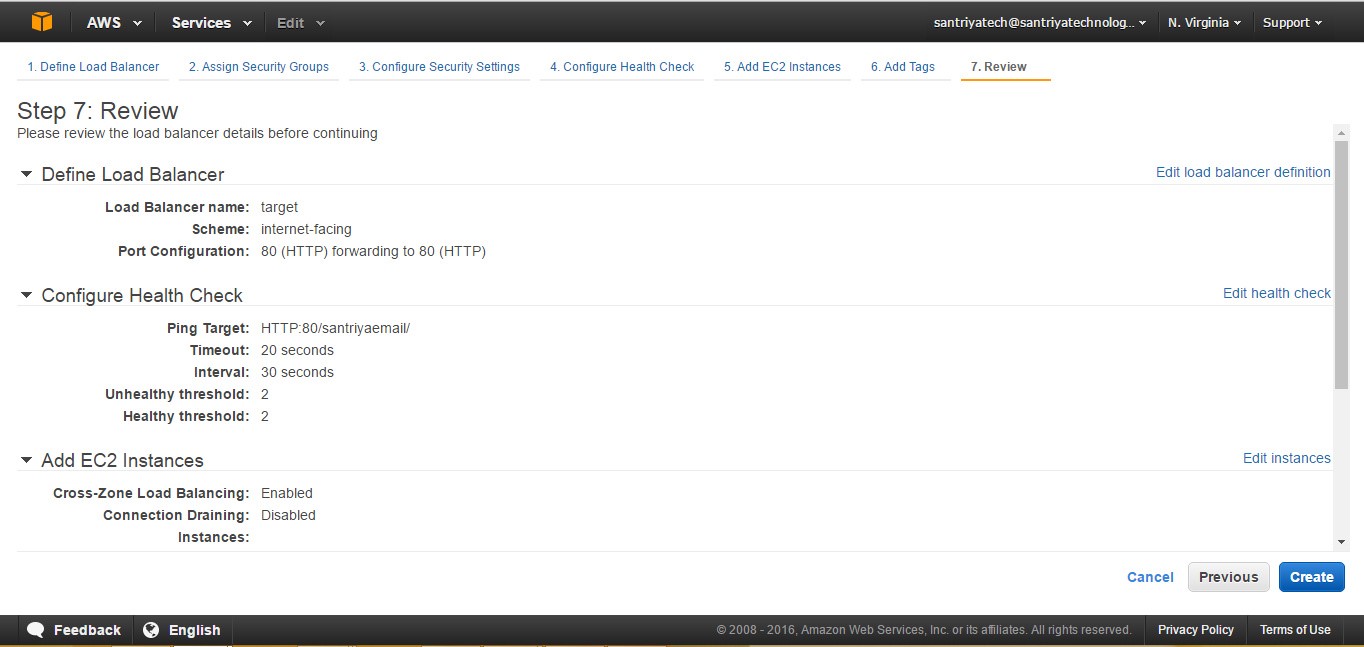
Define the load balancer name and enable VPC
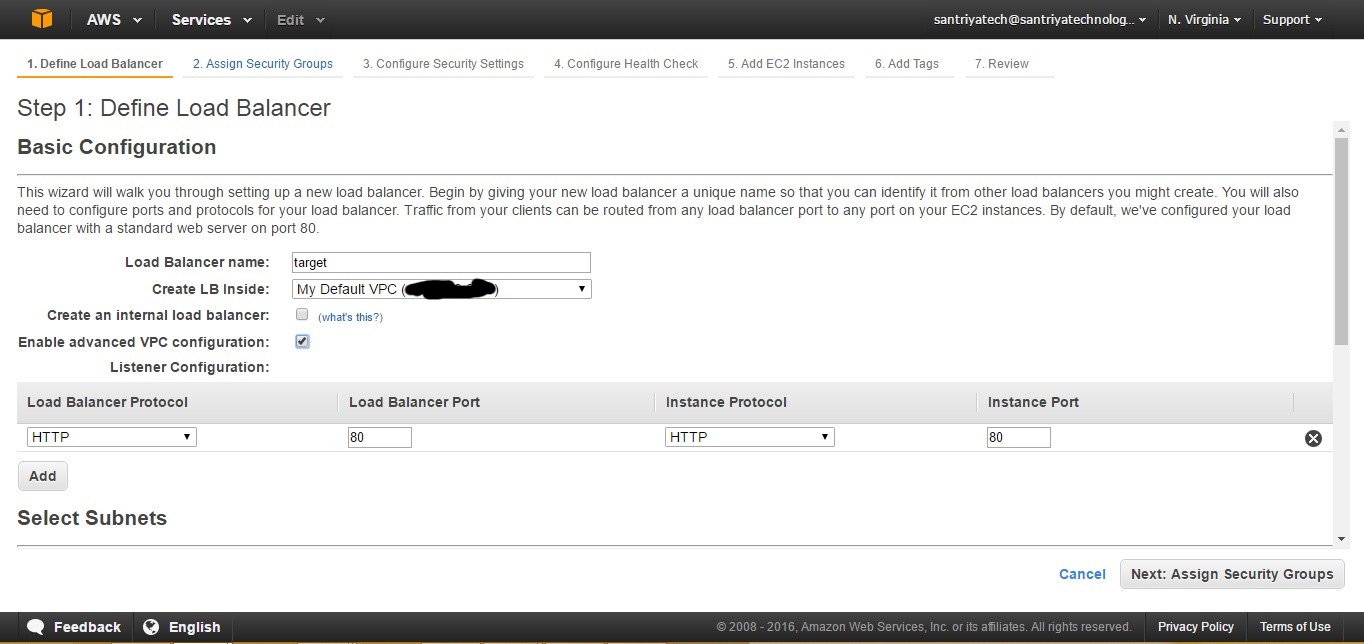
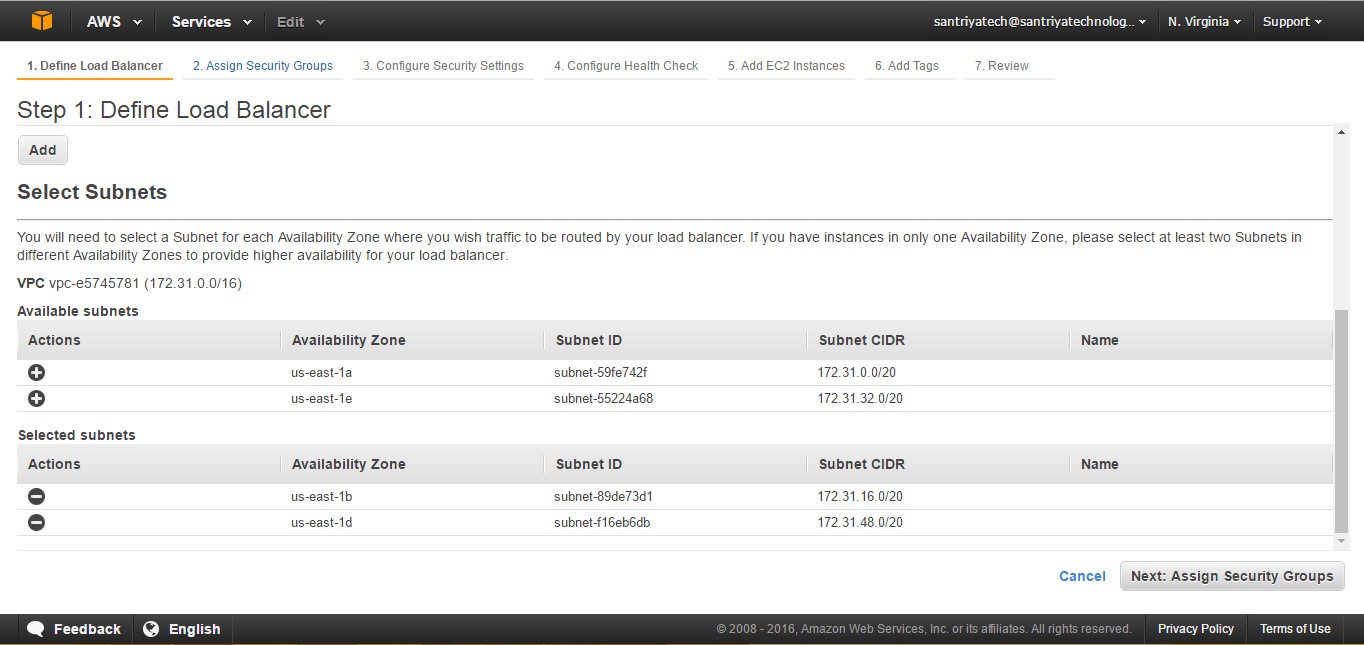
Select instance subnets
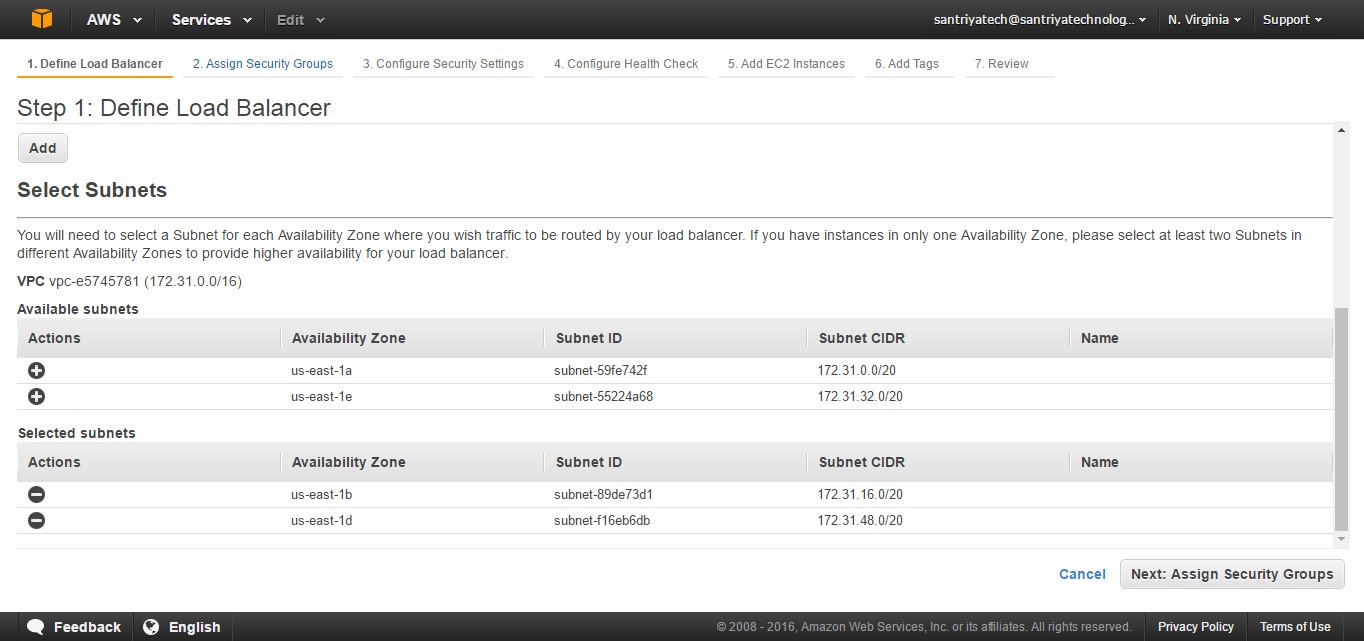
Click next for assign security group
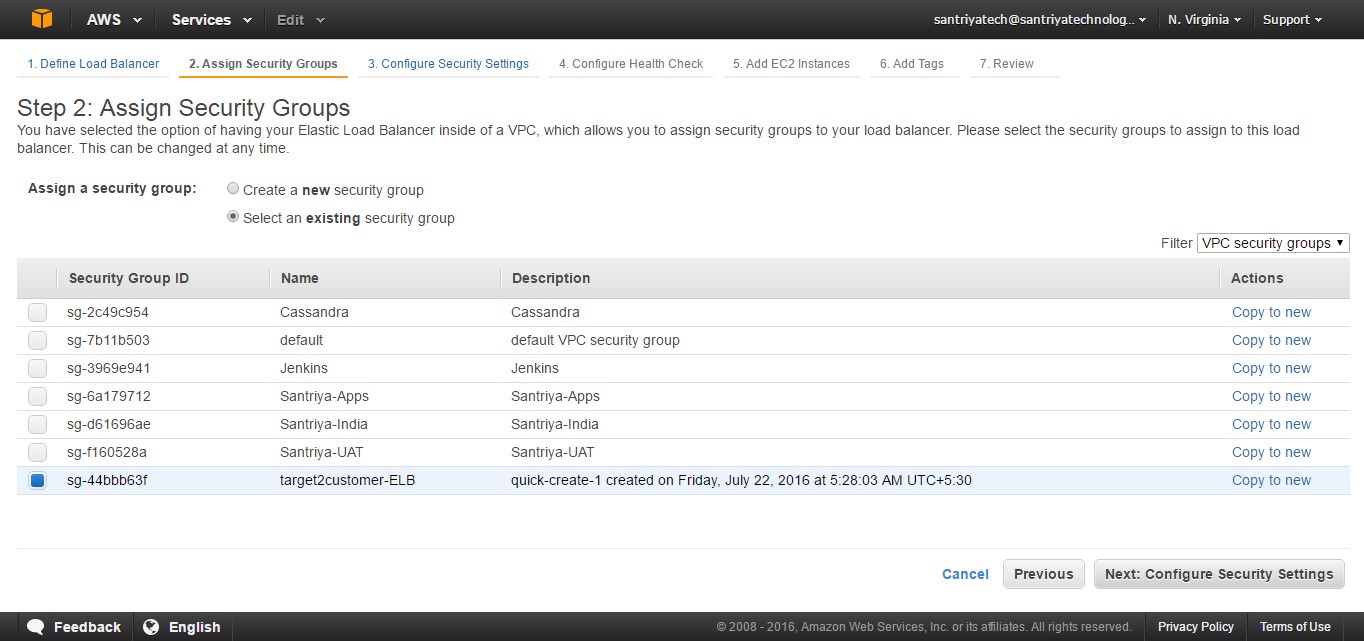
Assign the ELB security group
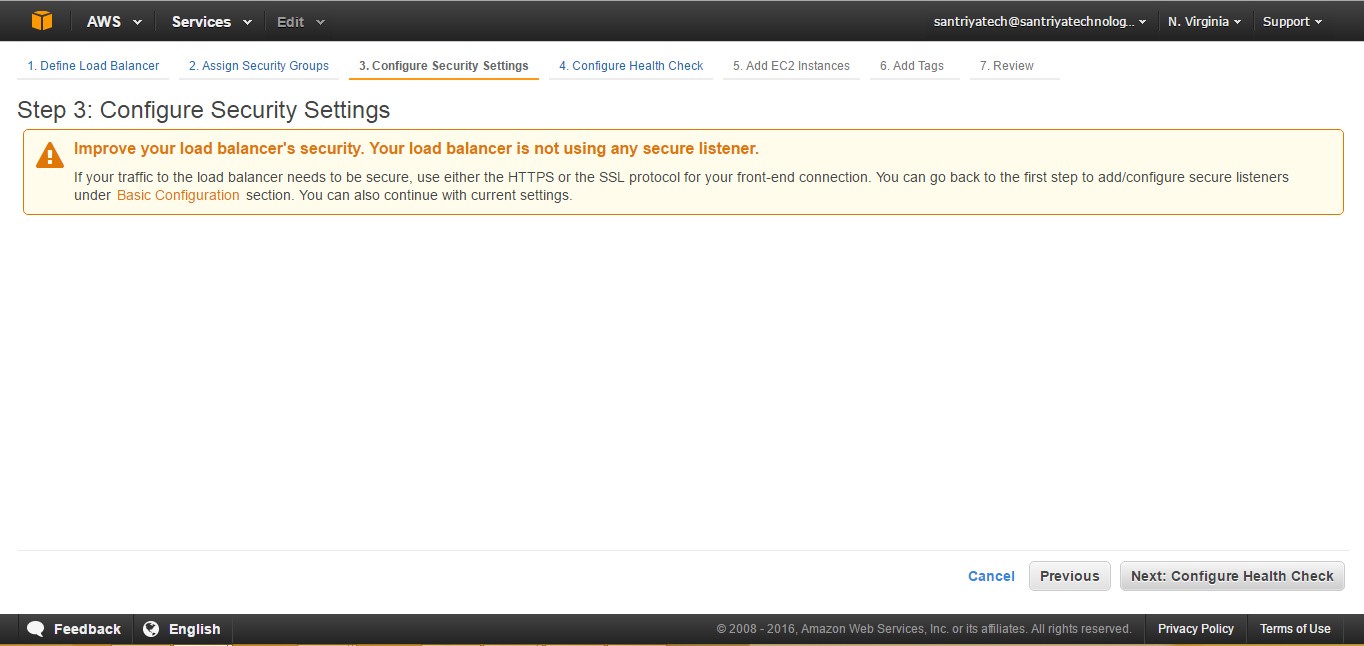
Next for configure the health check
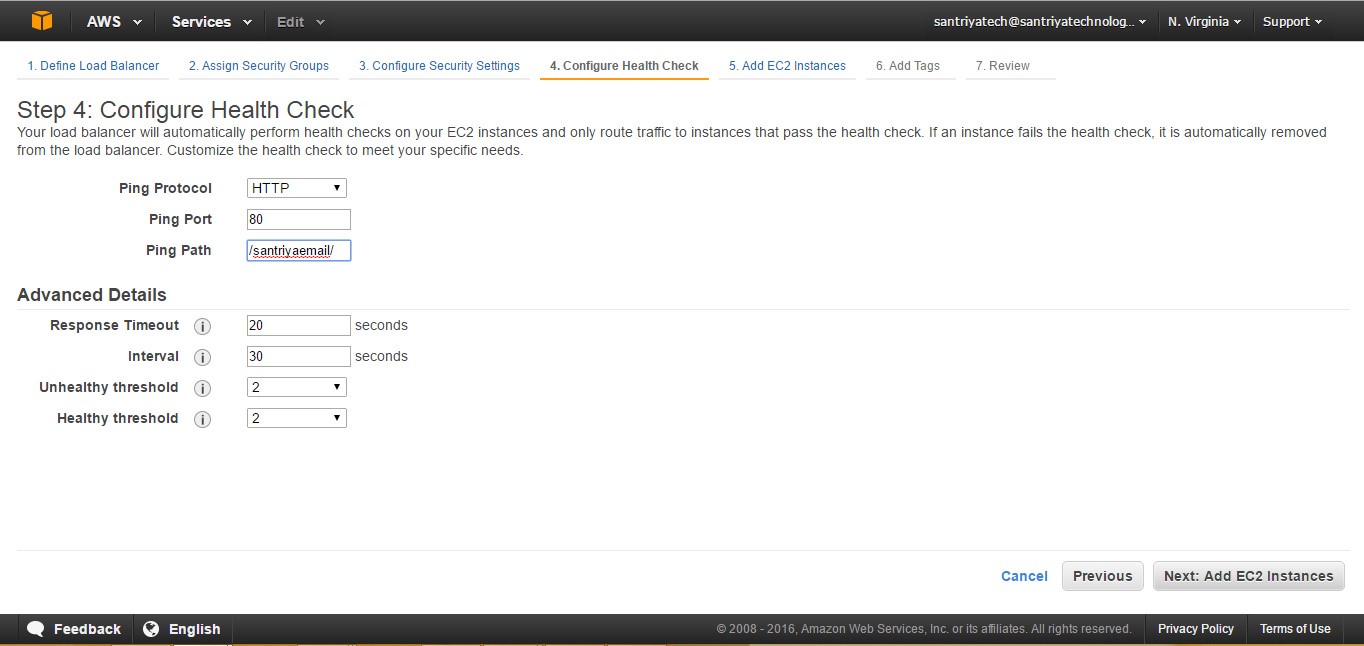
Define the ping path and advance details
Enable the cross-zone load balancing
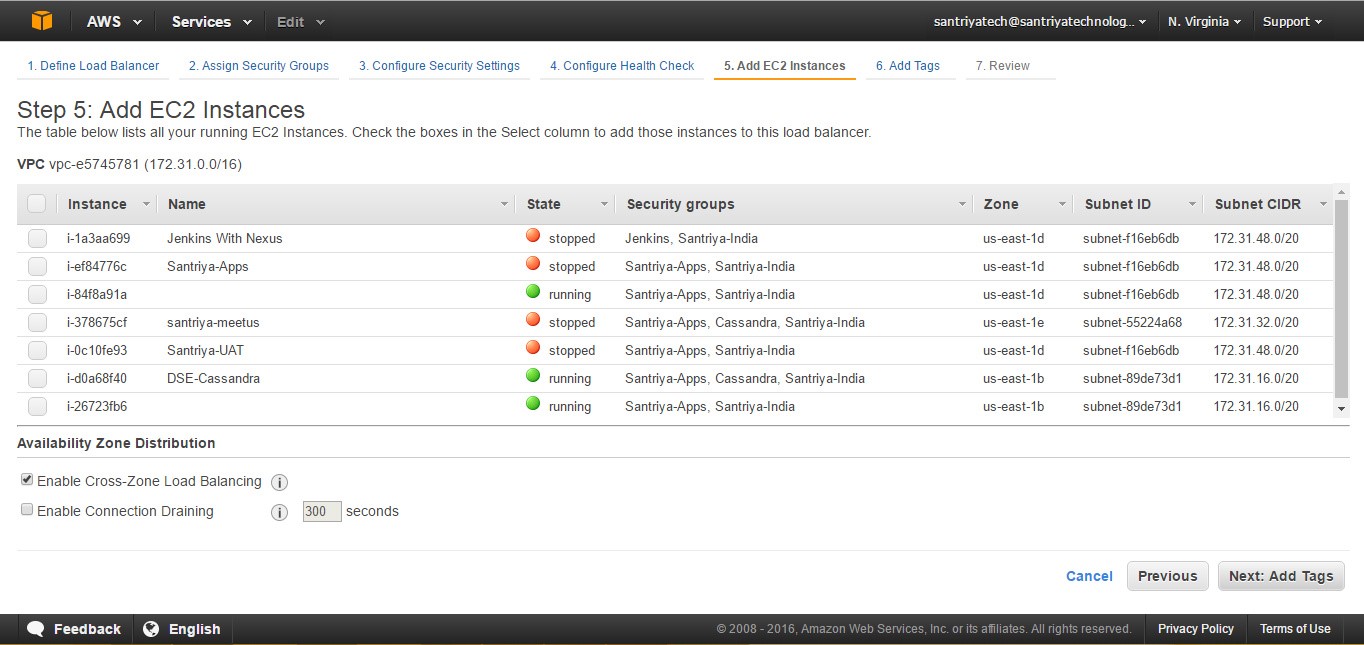
Define the tag.
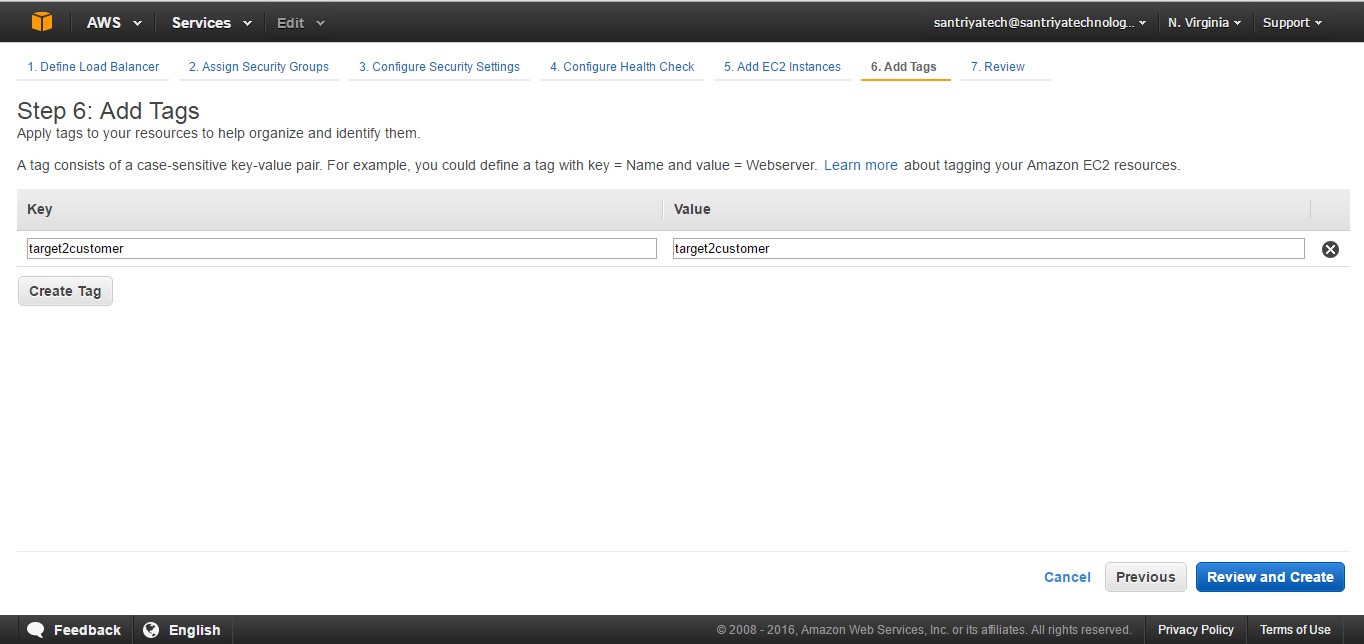
Choose create option
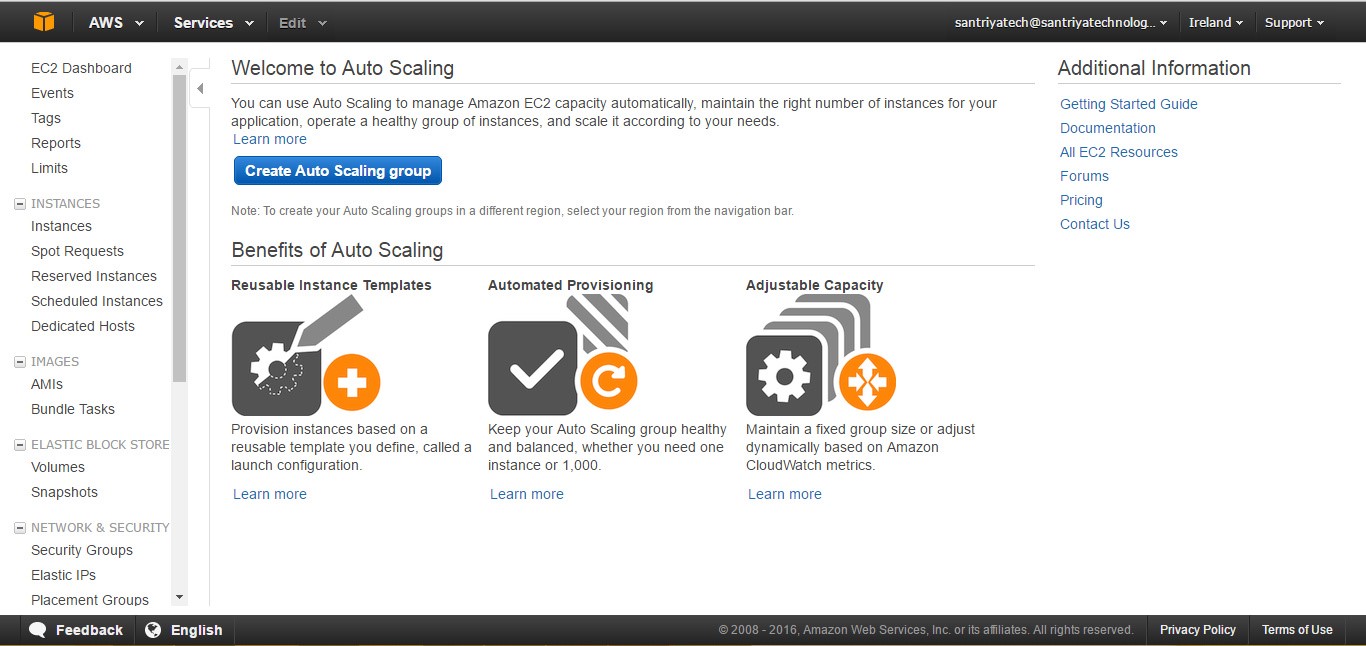
We need to configure the Auto scaling.
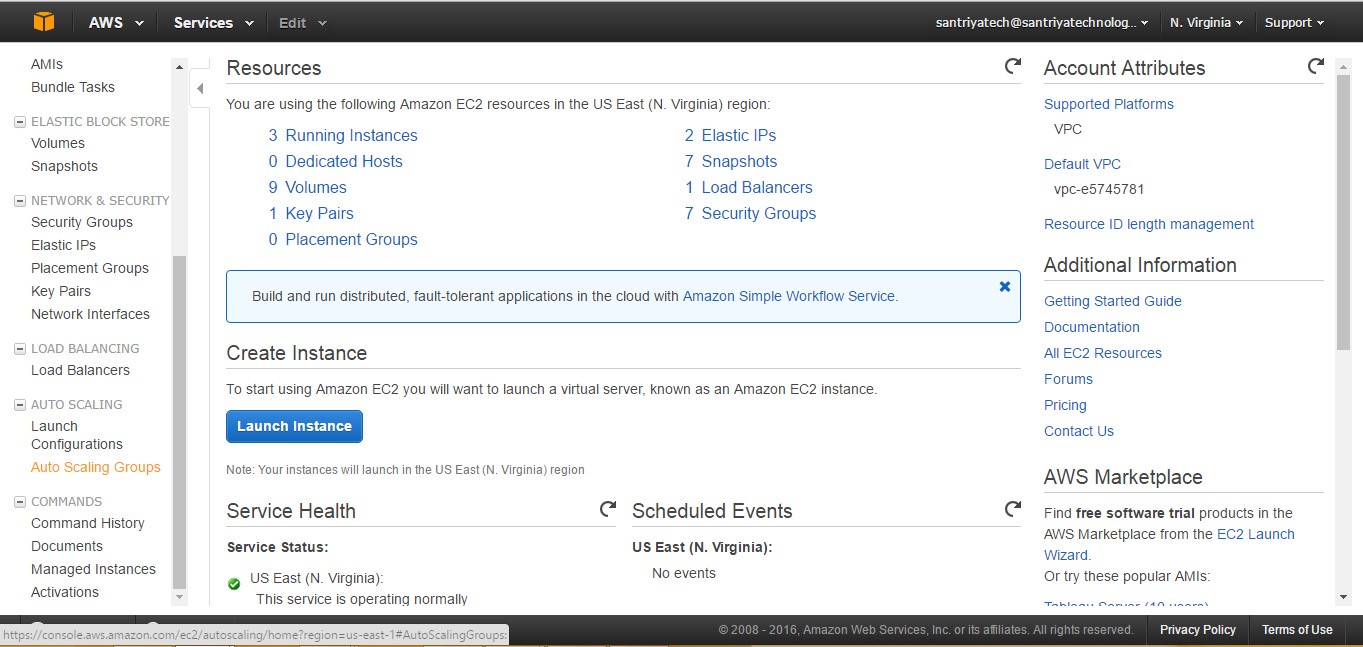
Click the autoscaling group
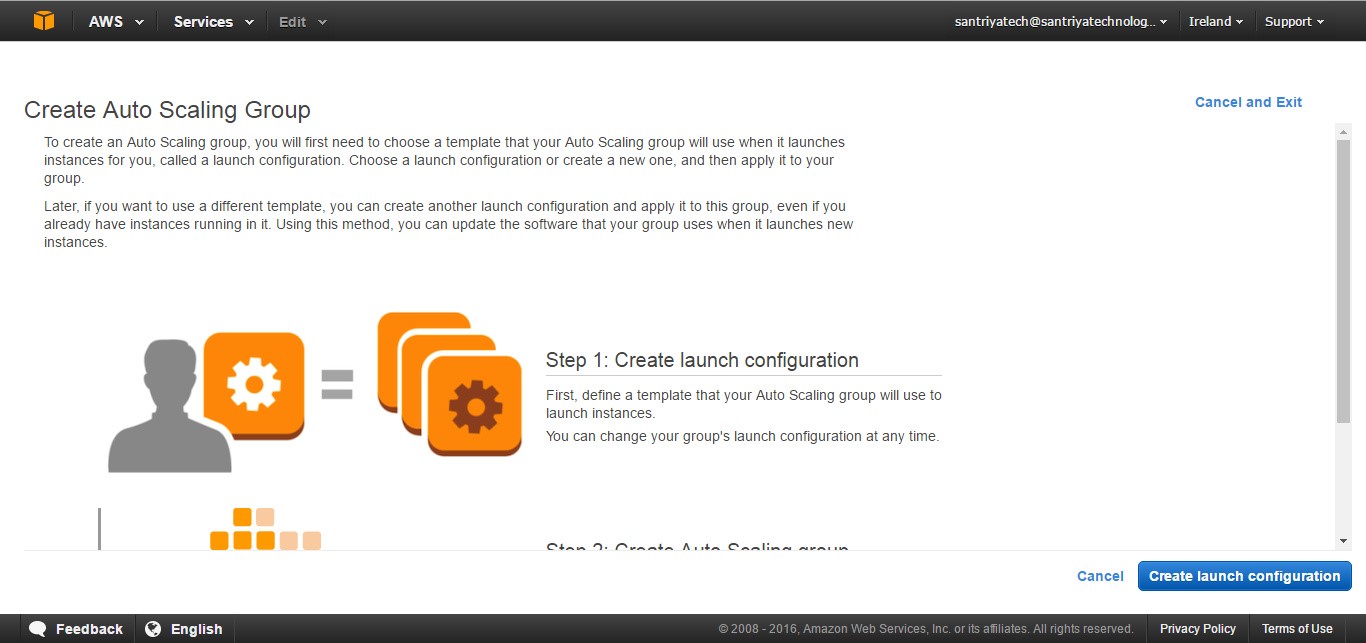
First we need to create the launch configuration.
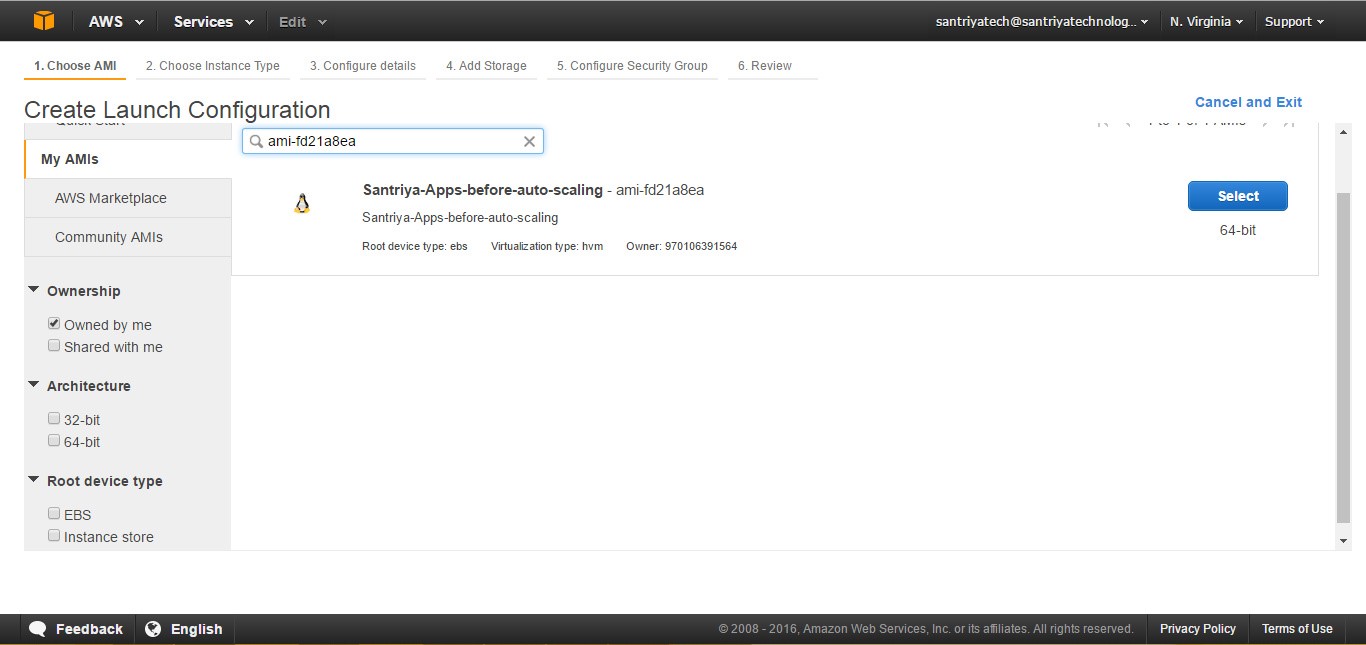
Select the AMI
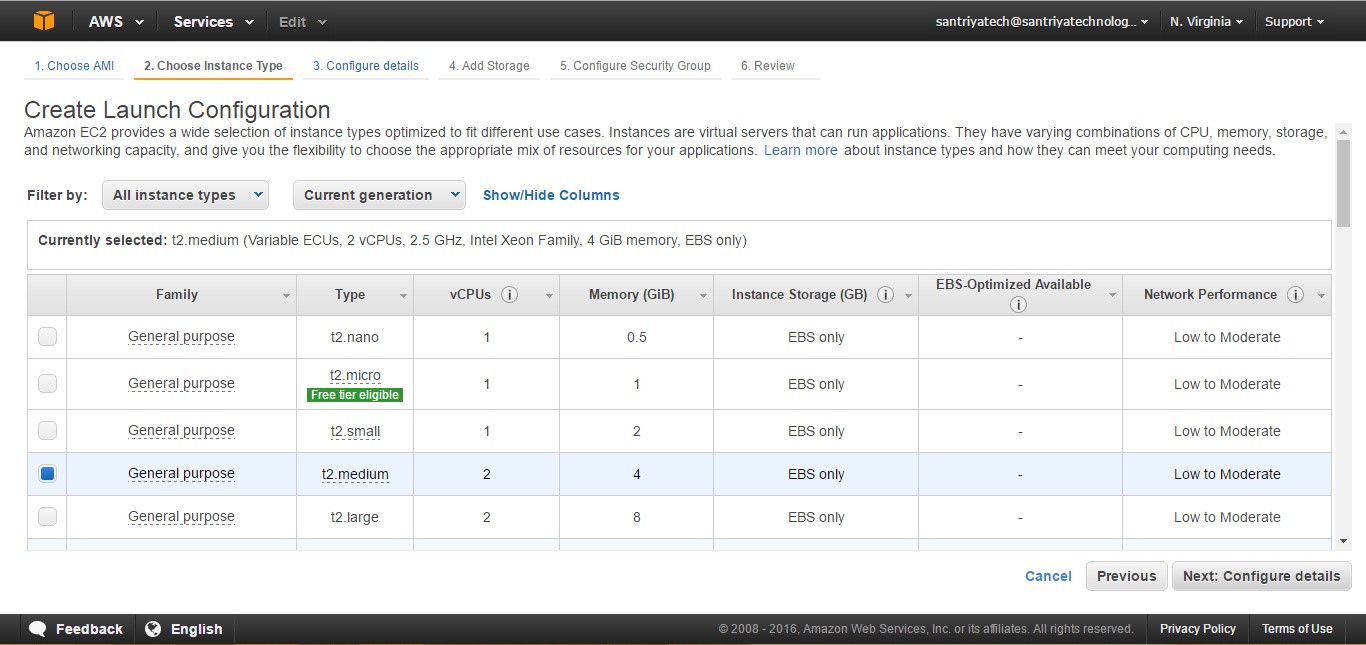
Select the instance size
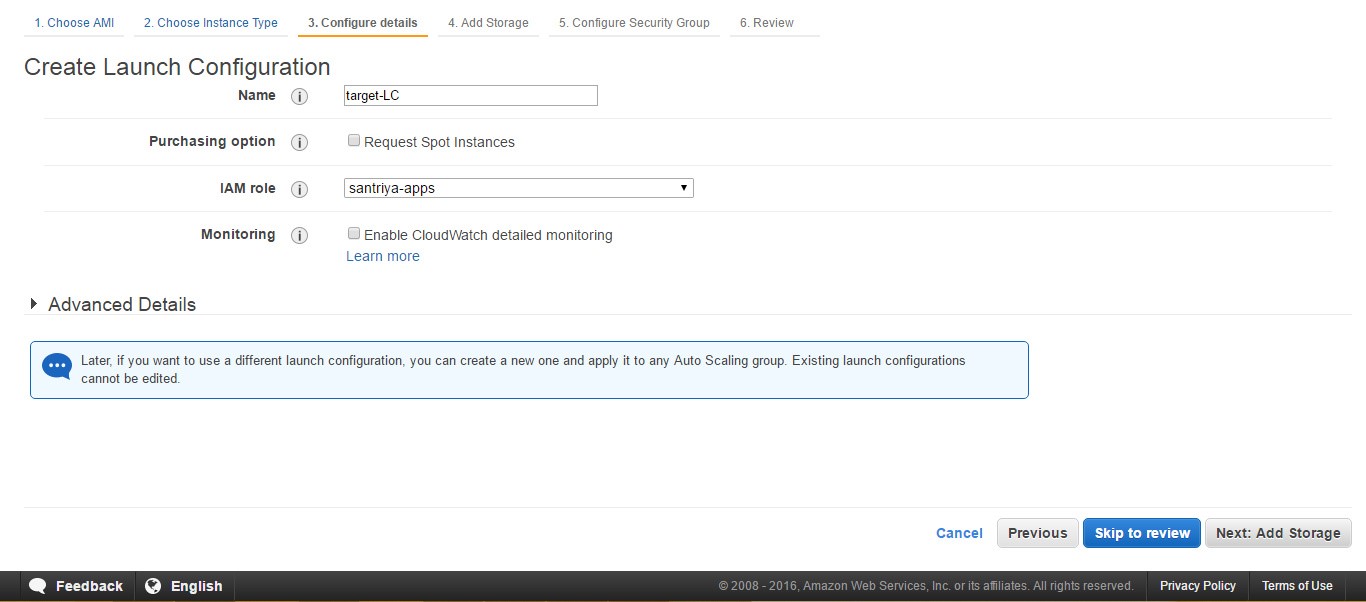
Define the name and role
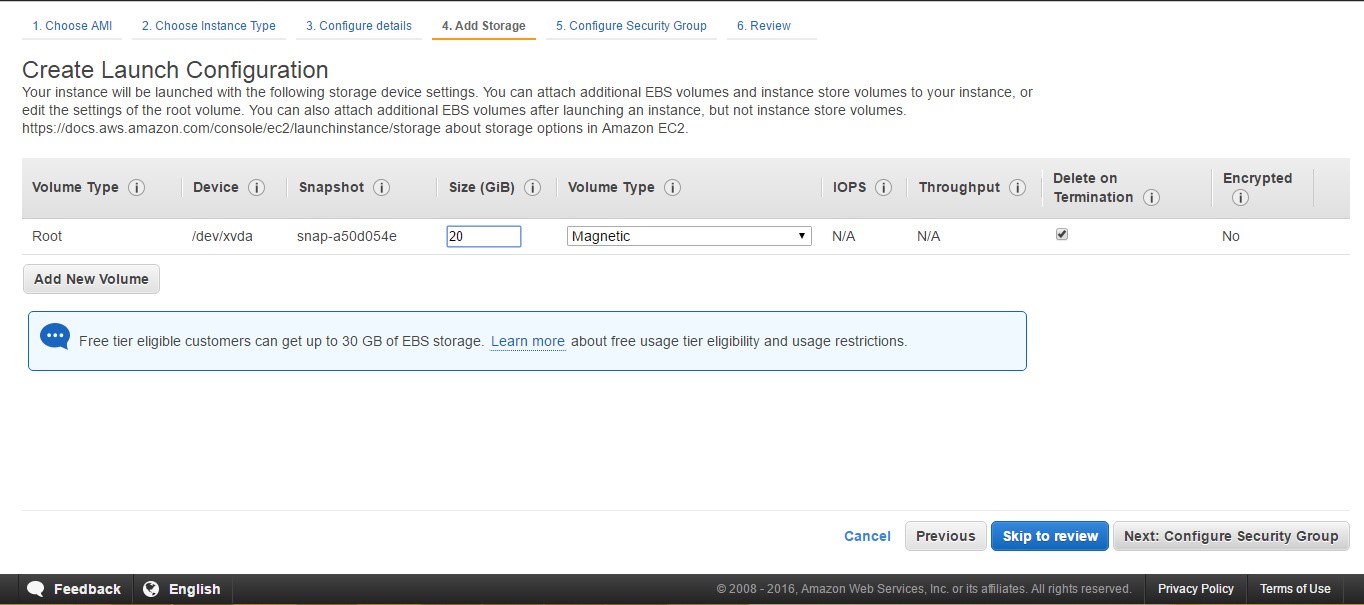
Define the storage
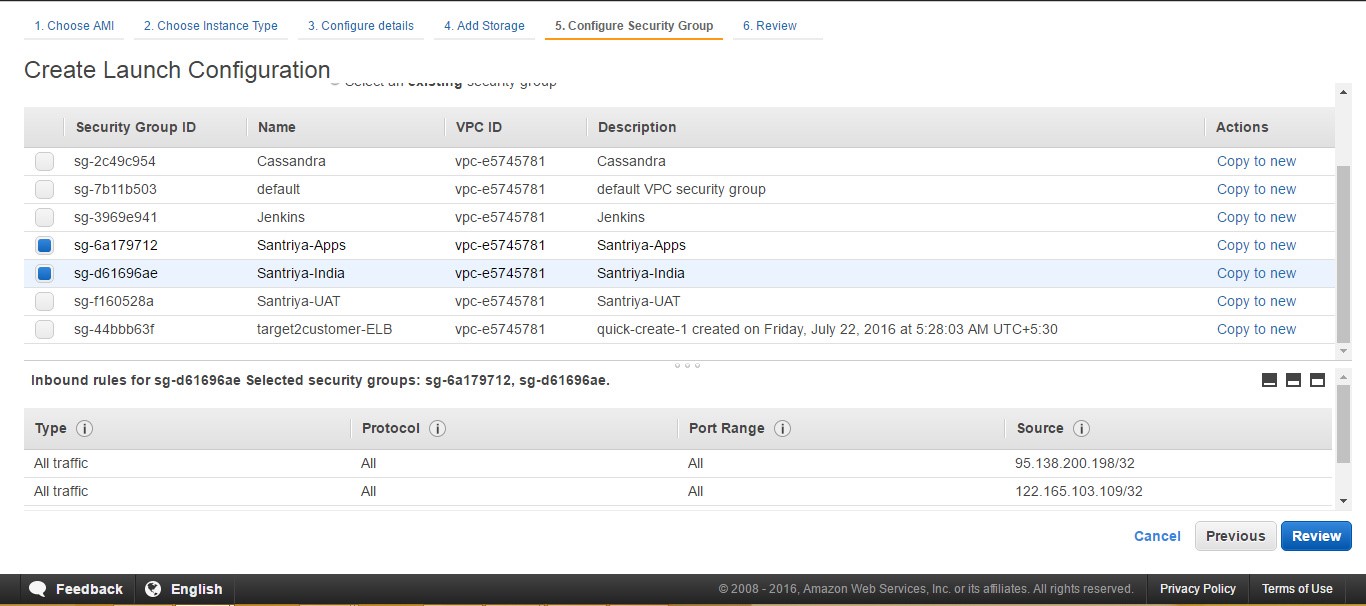
Select the instance Security group
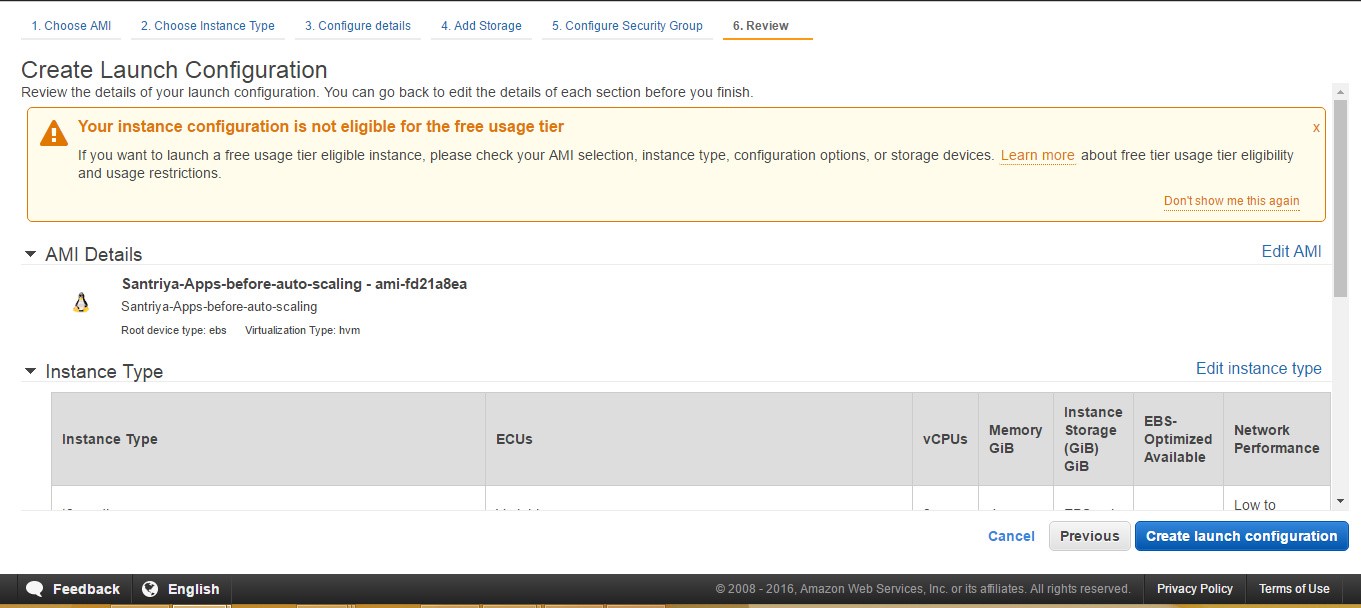
Create launch configuration
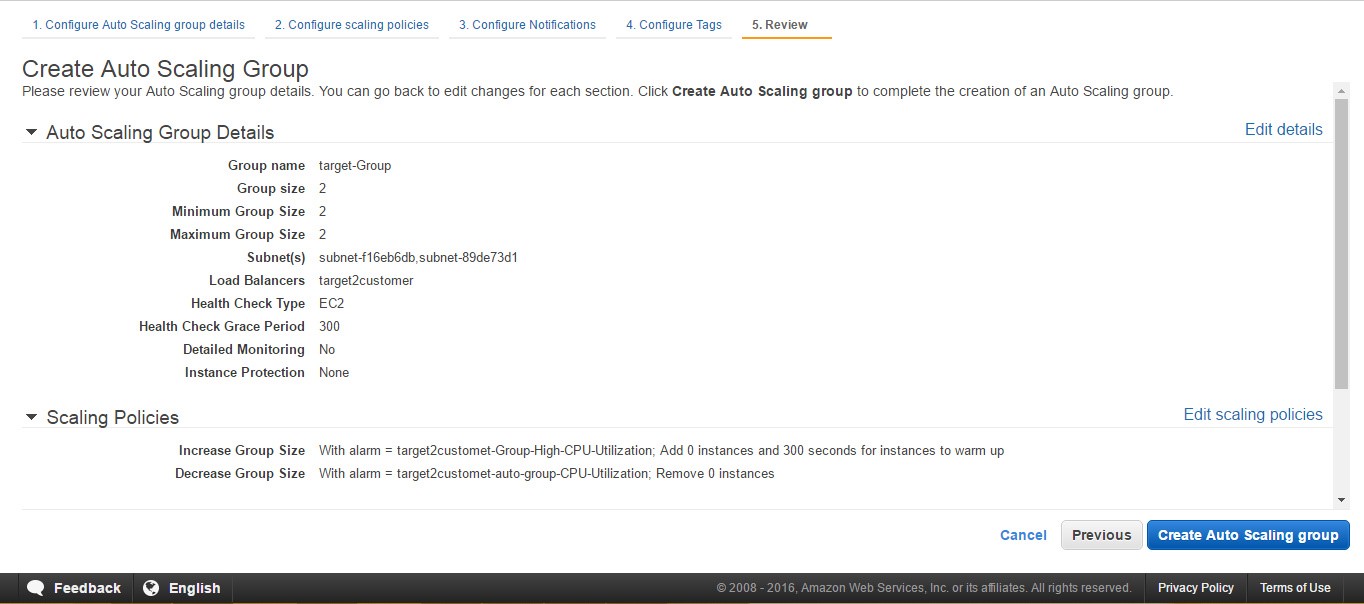
After that we have to create the auto scaling group. Define the group name & group size & subnet as we choosed in ELB
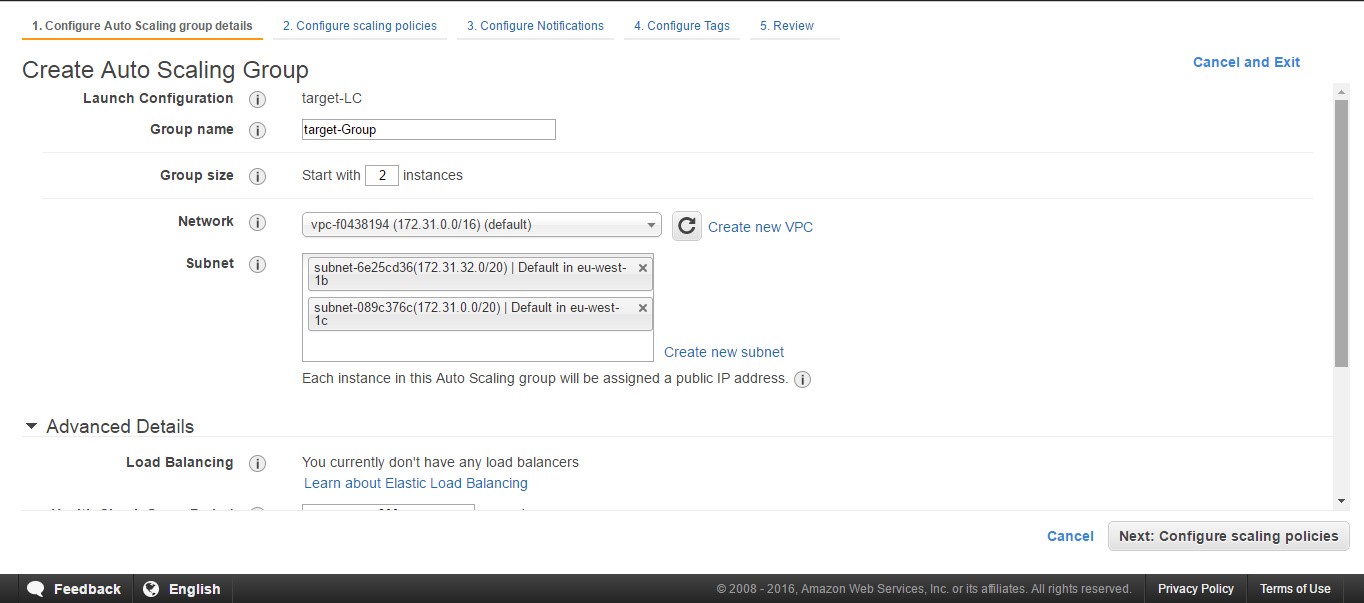
Click Next
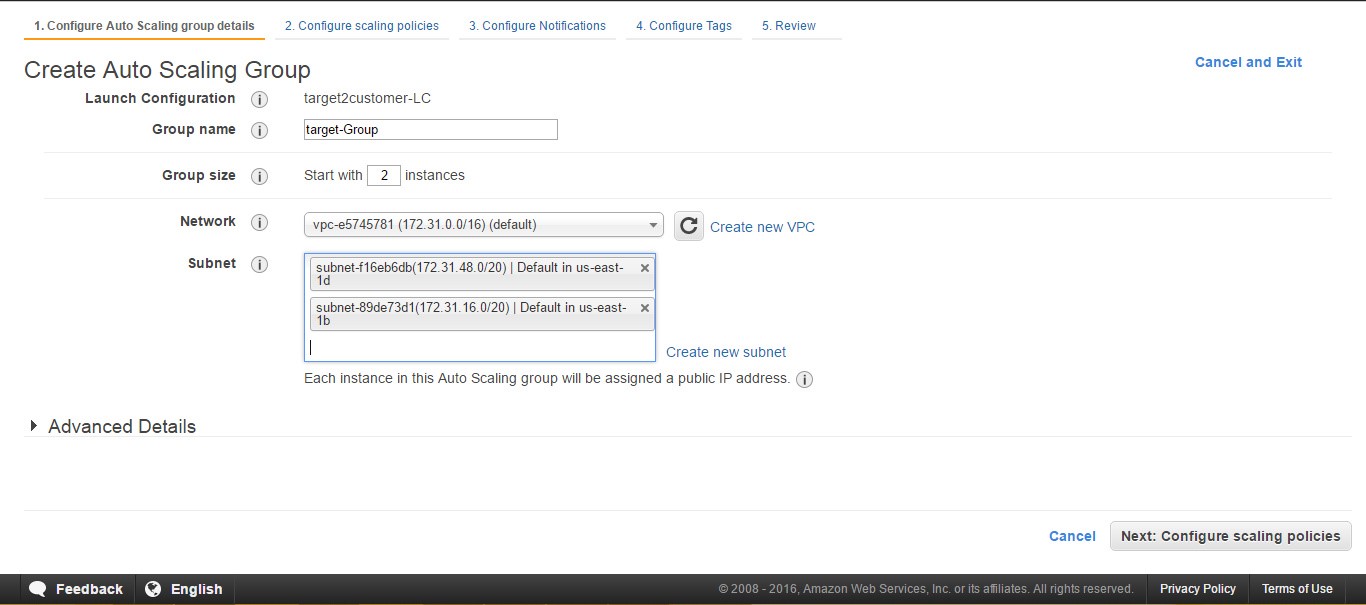
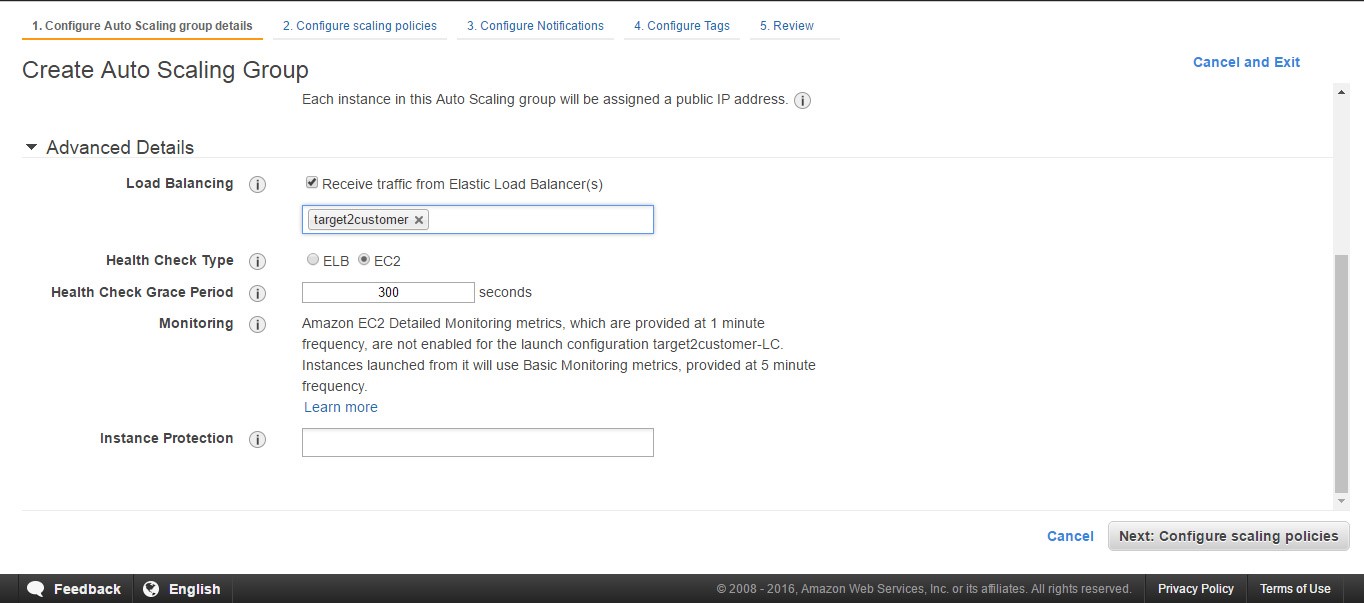
Choose the ELB as the name of target2customer & health check type ELB
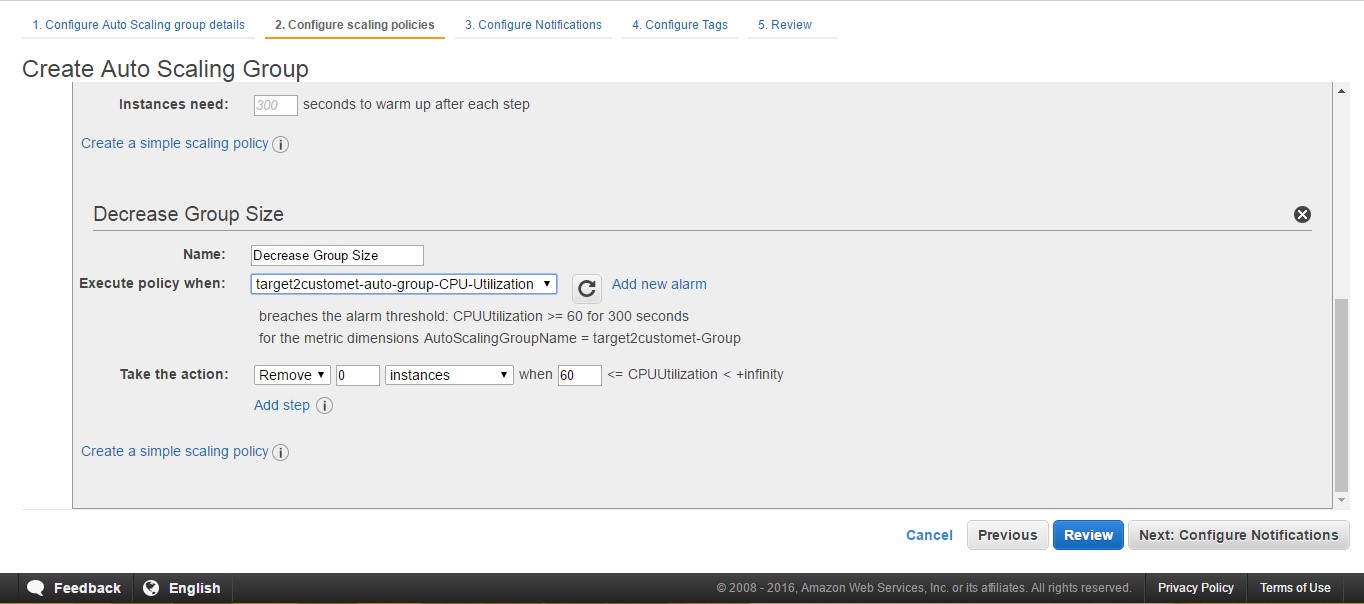
Configure the scaling type like instance increase and decrease value
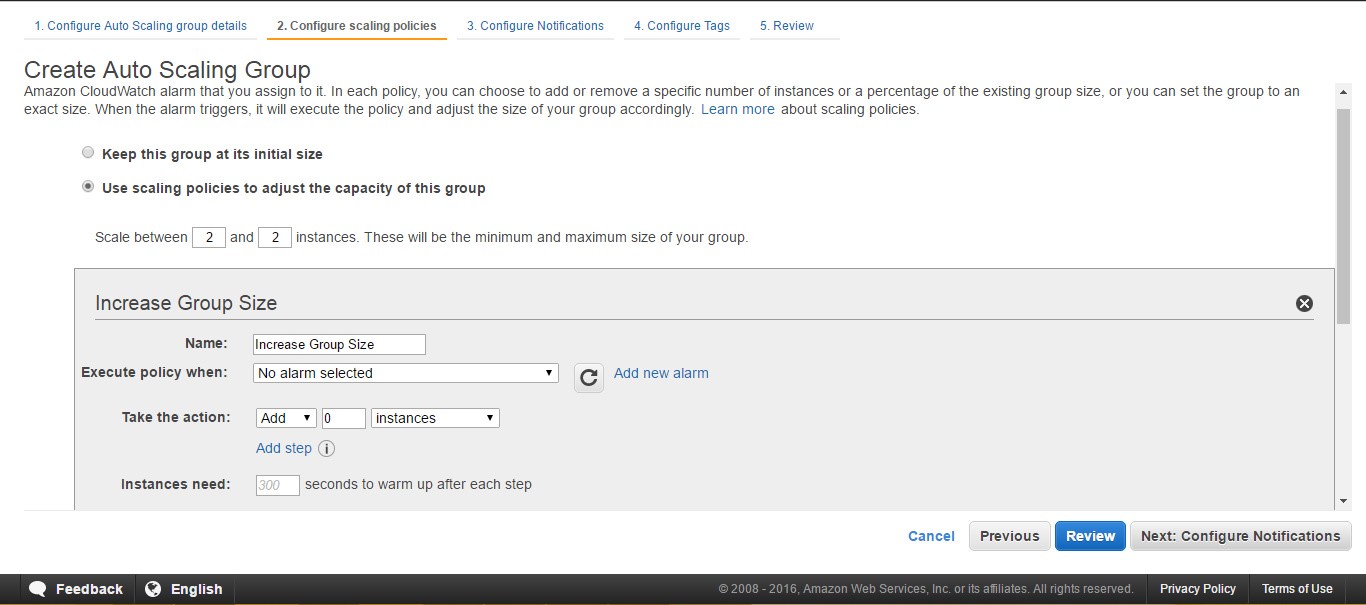
Increase the instance for after 60% CPU
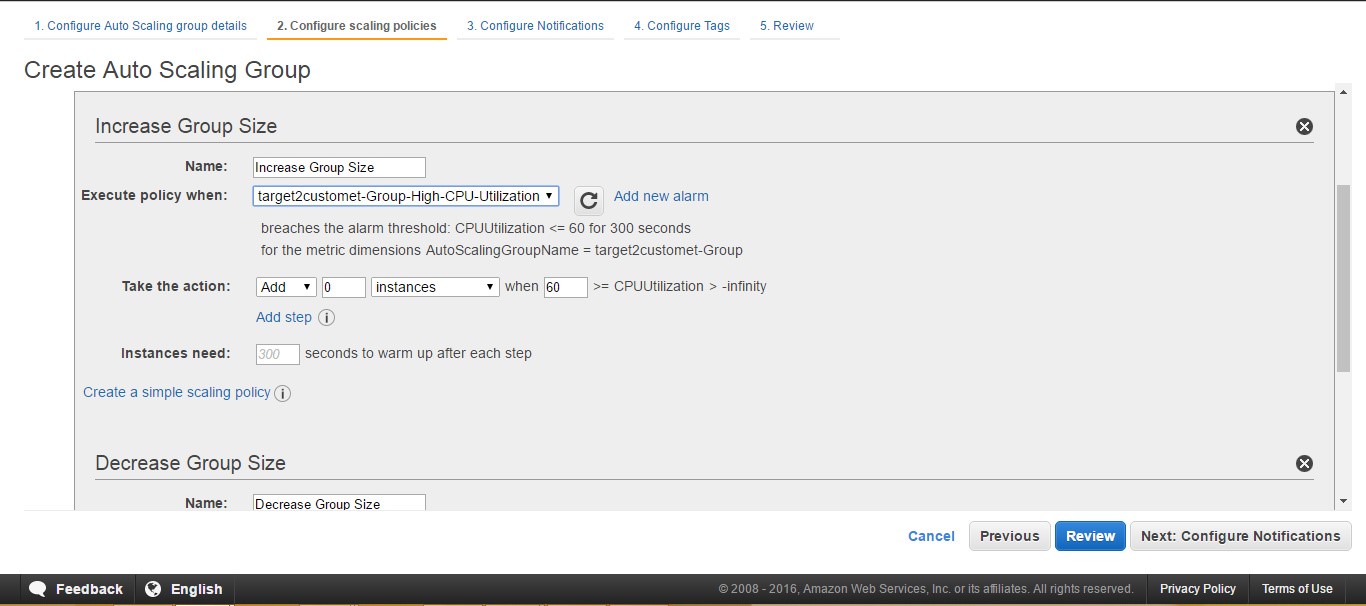
Decrease the instance for after 60% CPU
Define the tag
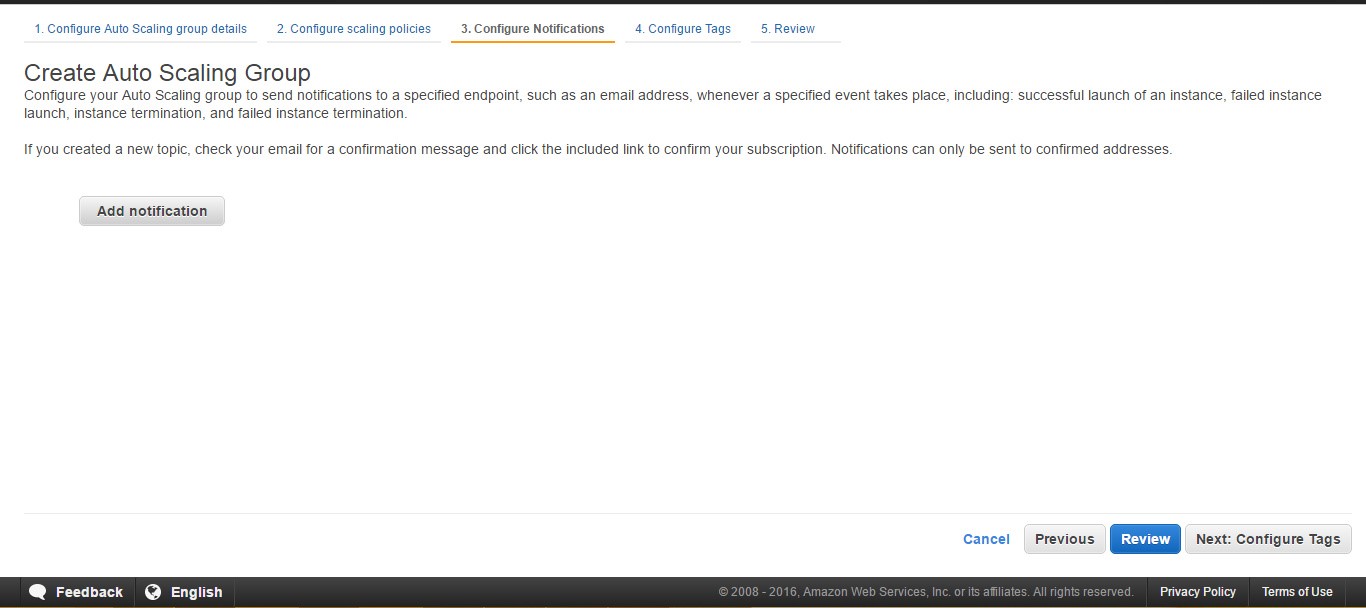
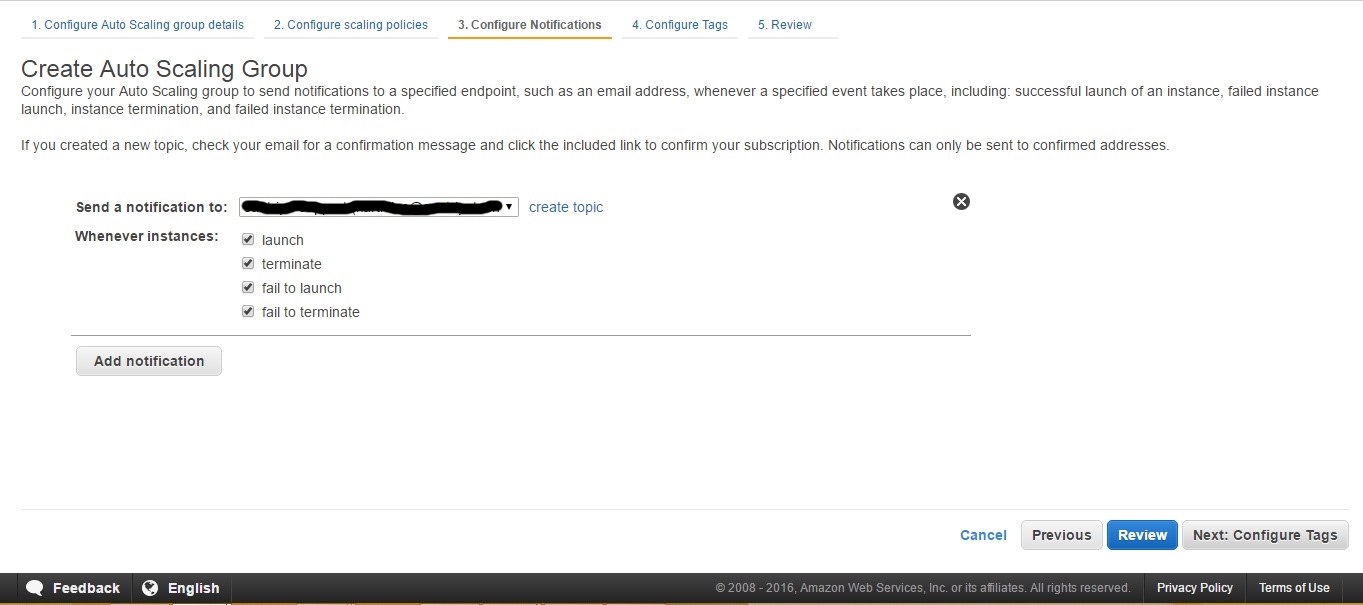
Enable the notification.
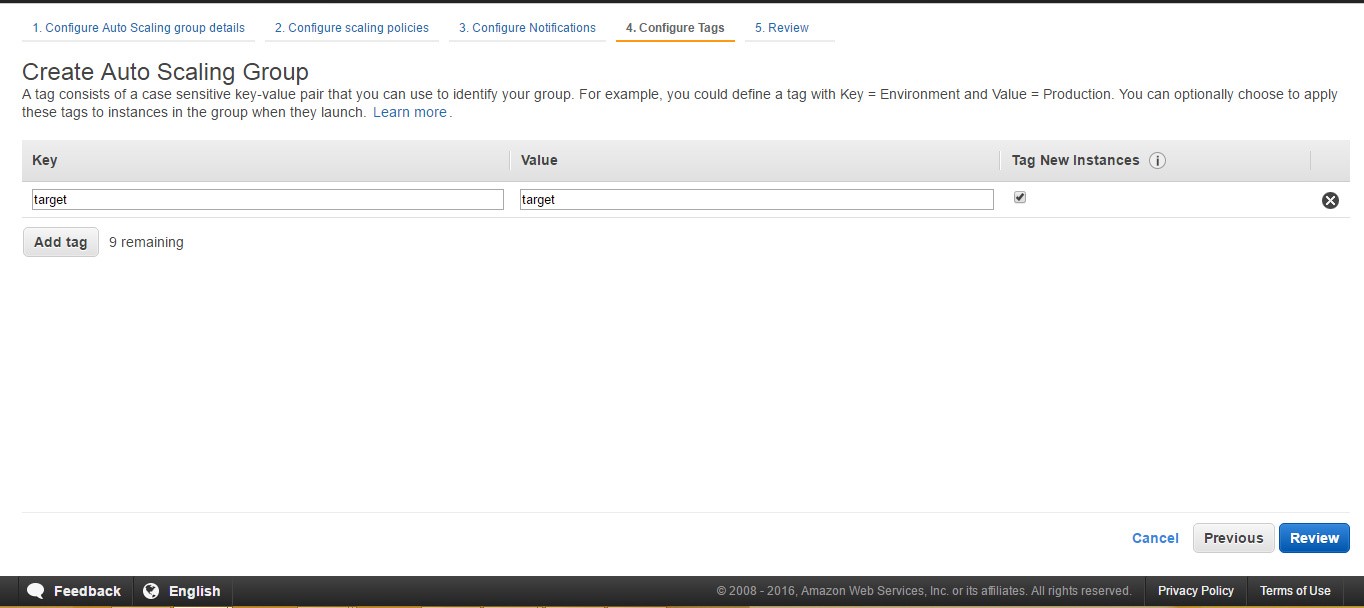
Create the auto scaling group
Create DSE cassandra Database
Stack Versions:
Cassandra :
DSE 4.8.1
Cassandra 2.1.11
Tomcat : 7.0 (Tomcat 7)
Java : 1.7.0_73 (Java 7)
Updated.
Install the opscenter & then create the cluster.
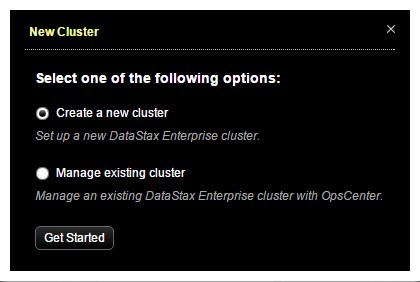
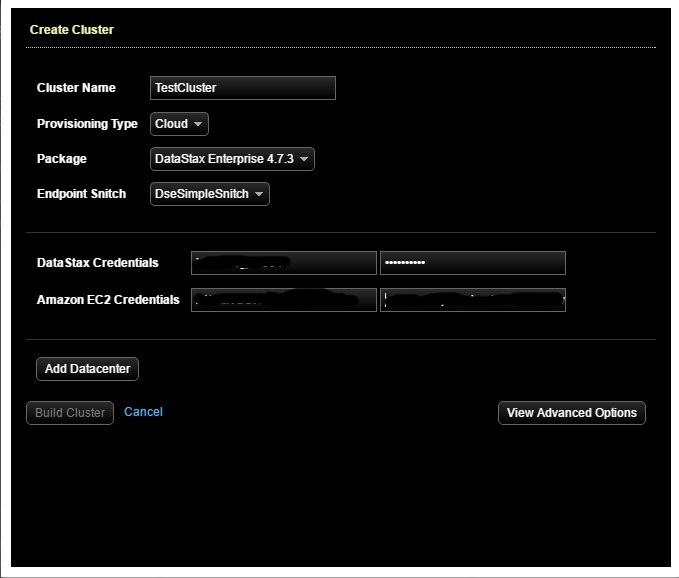
Define the clustername & dse version.
Define dse login details & EC2 credential(EC2 full permission).
Choose the instance size and security group & keypair(PEM key)
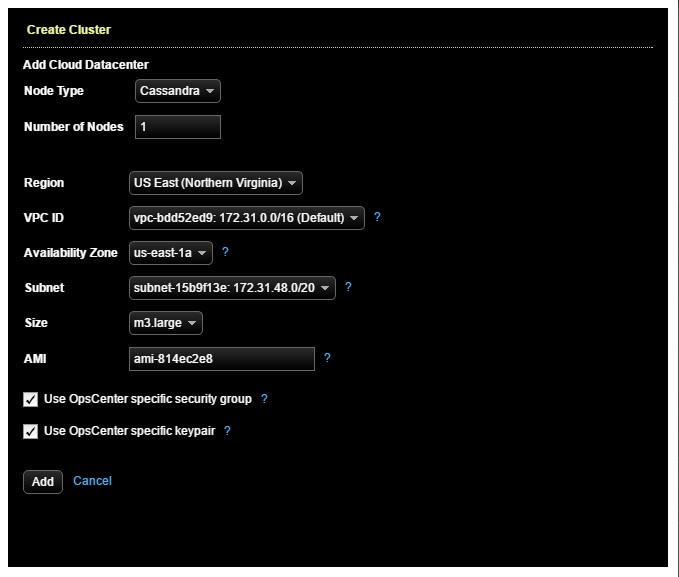
Build the cluster.
Cluster automatically launch. Then map application to database.
How to add the new node to existing cluster:
Go to opscenter home page.
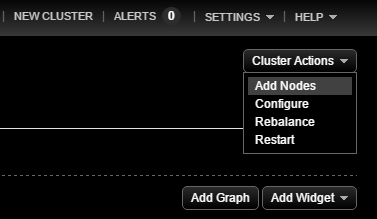
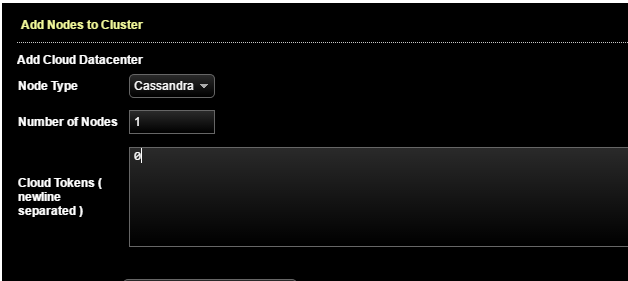
Do the same process as we did in previous cluster configuration .
New node automatically join to existing cluster.
Our configuration changes is token and seeds IP.
Cassandra :
Launch the DSE AMI Instance
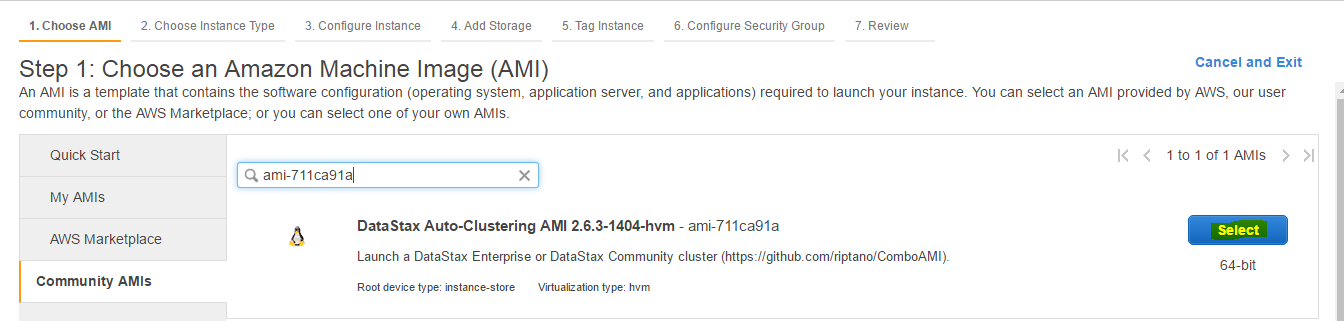
Choose m3.large Instances
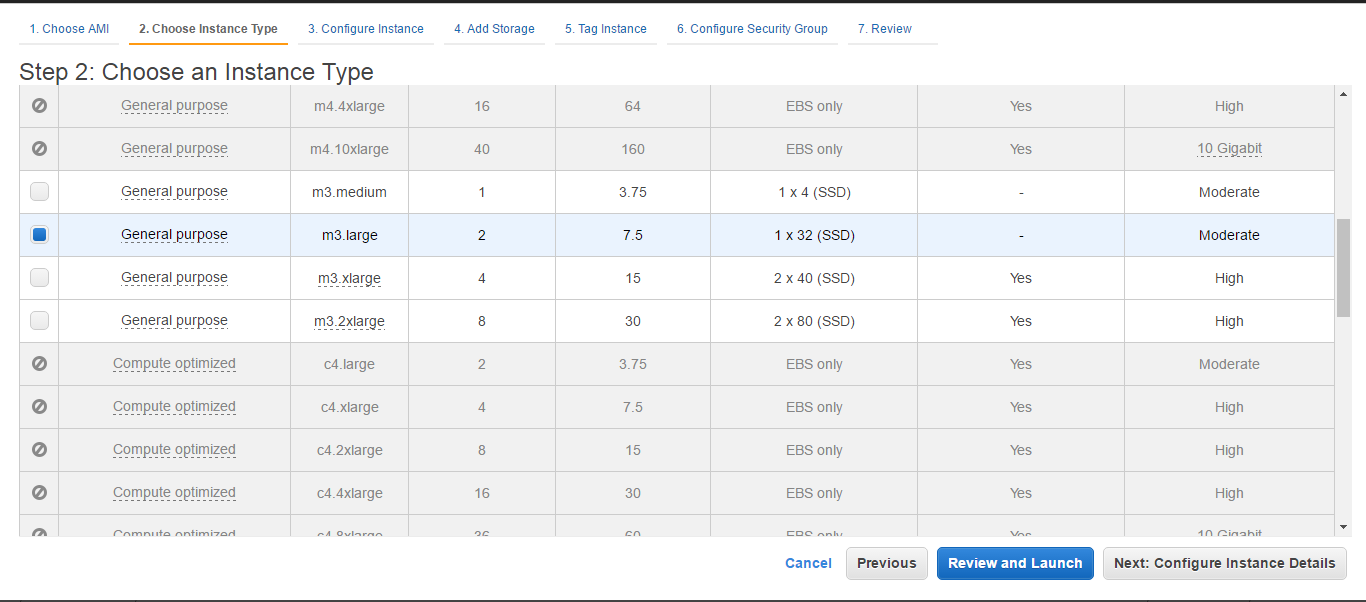
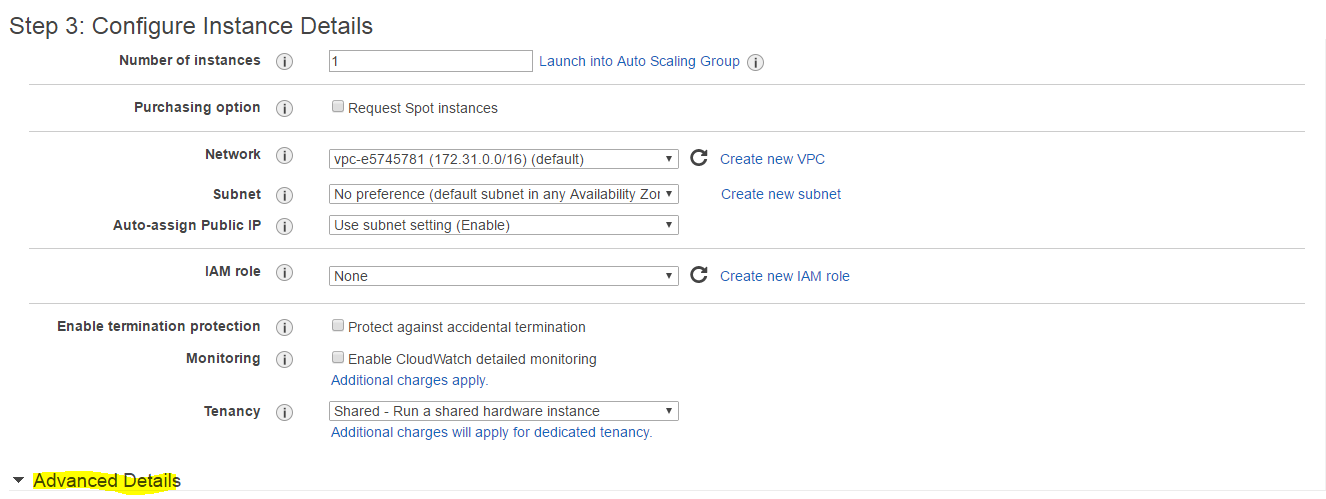

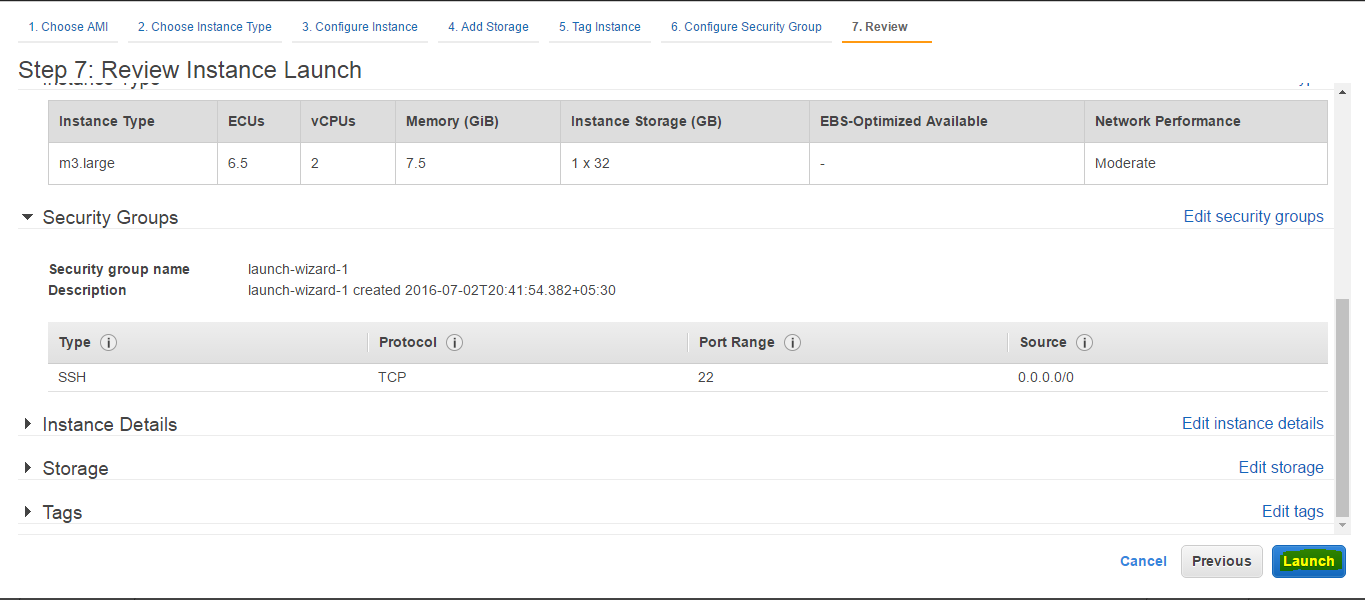
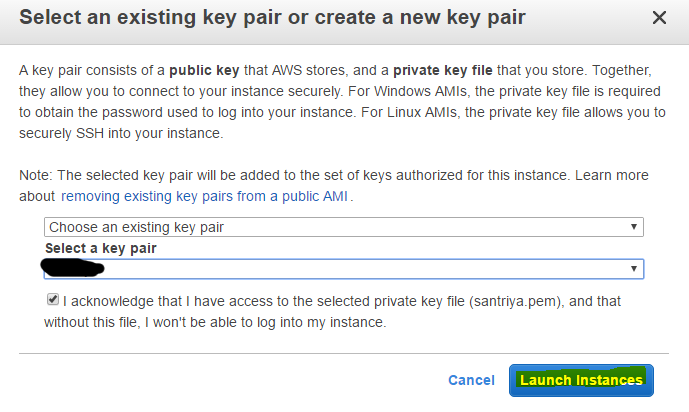
Now Cassandra Database also installed.
At Santriya Technologies, we offer a variety of services to build identity, empower life style for our customers like small, medium and enterprise businesses across the globe. We have a pool of people with expert skills on any various technologies, open source technologies and database systems. We can help your company to overcome business challenges by building custom-made IT solutions.
Do your business need assessment of business process; feel free to contact Santriya Technologies to request free consultation 02087315286…